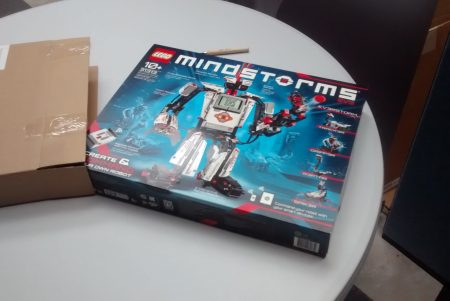
"So I hear you have experience with LEGO." This sentence marks the day where I realised I had reached my peak of happiness. I had spent every moment of my childhood building and constructing LEGO, so when I was handed a huge box of not only robotics, but LEGO robotics, I was overjoyed.
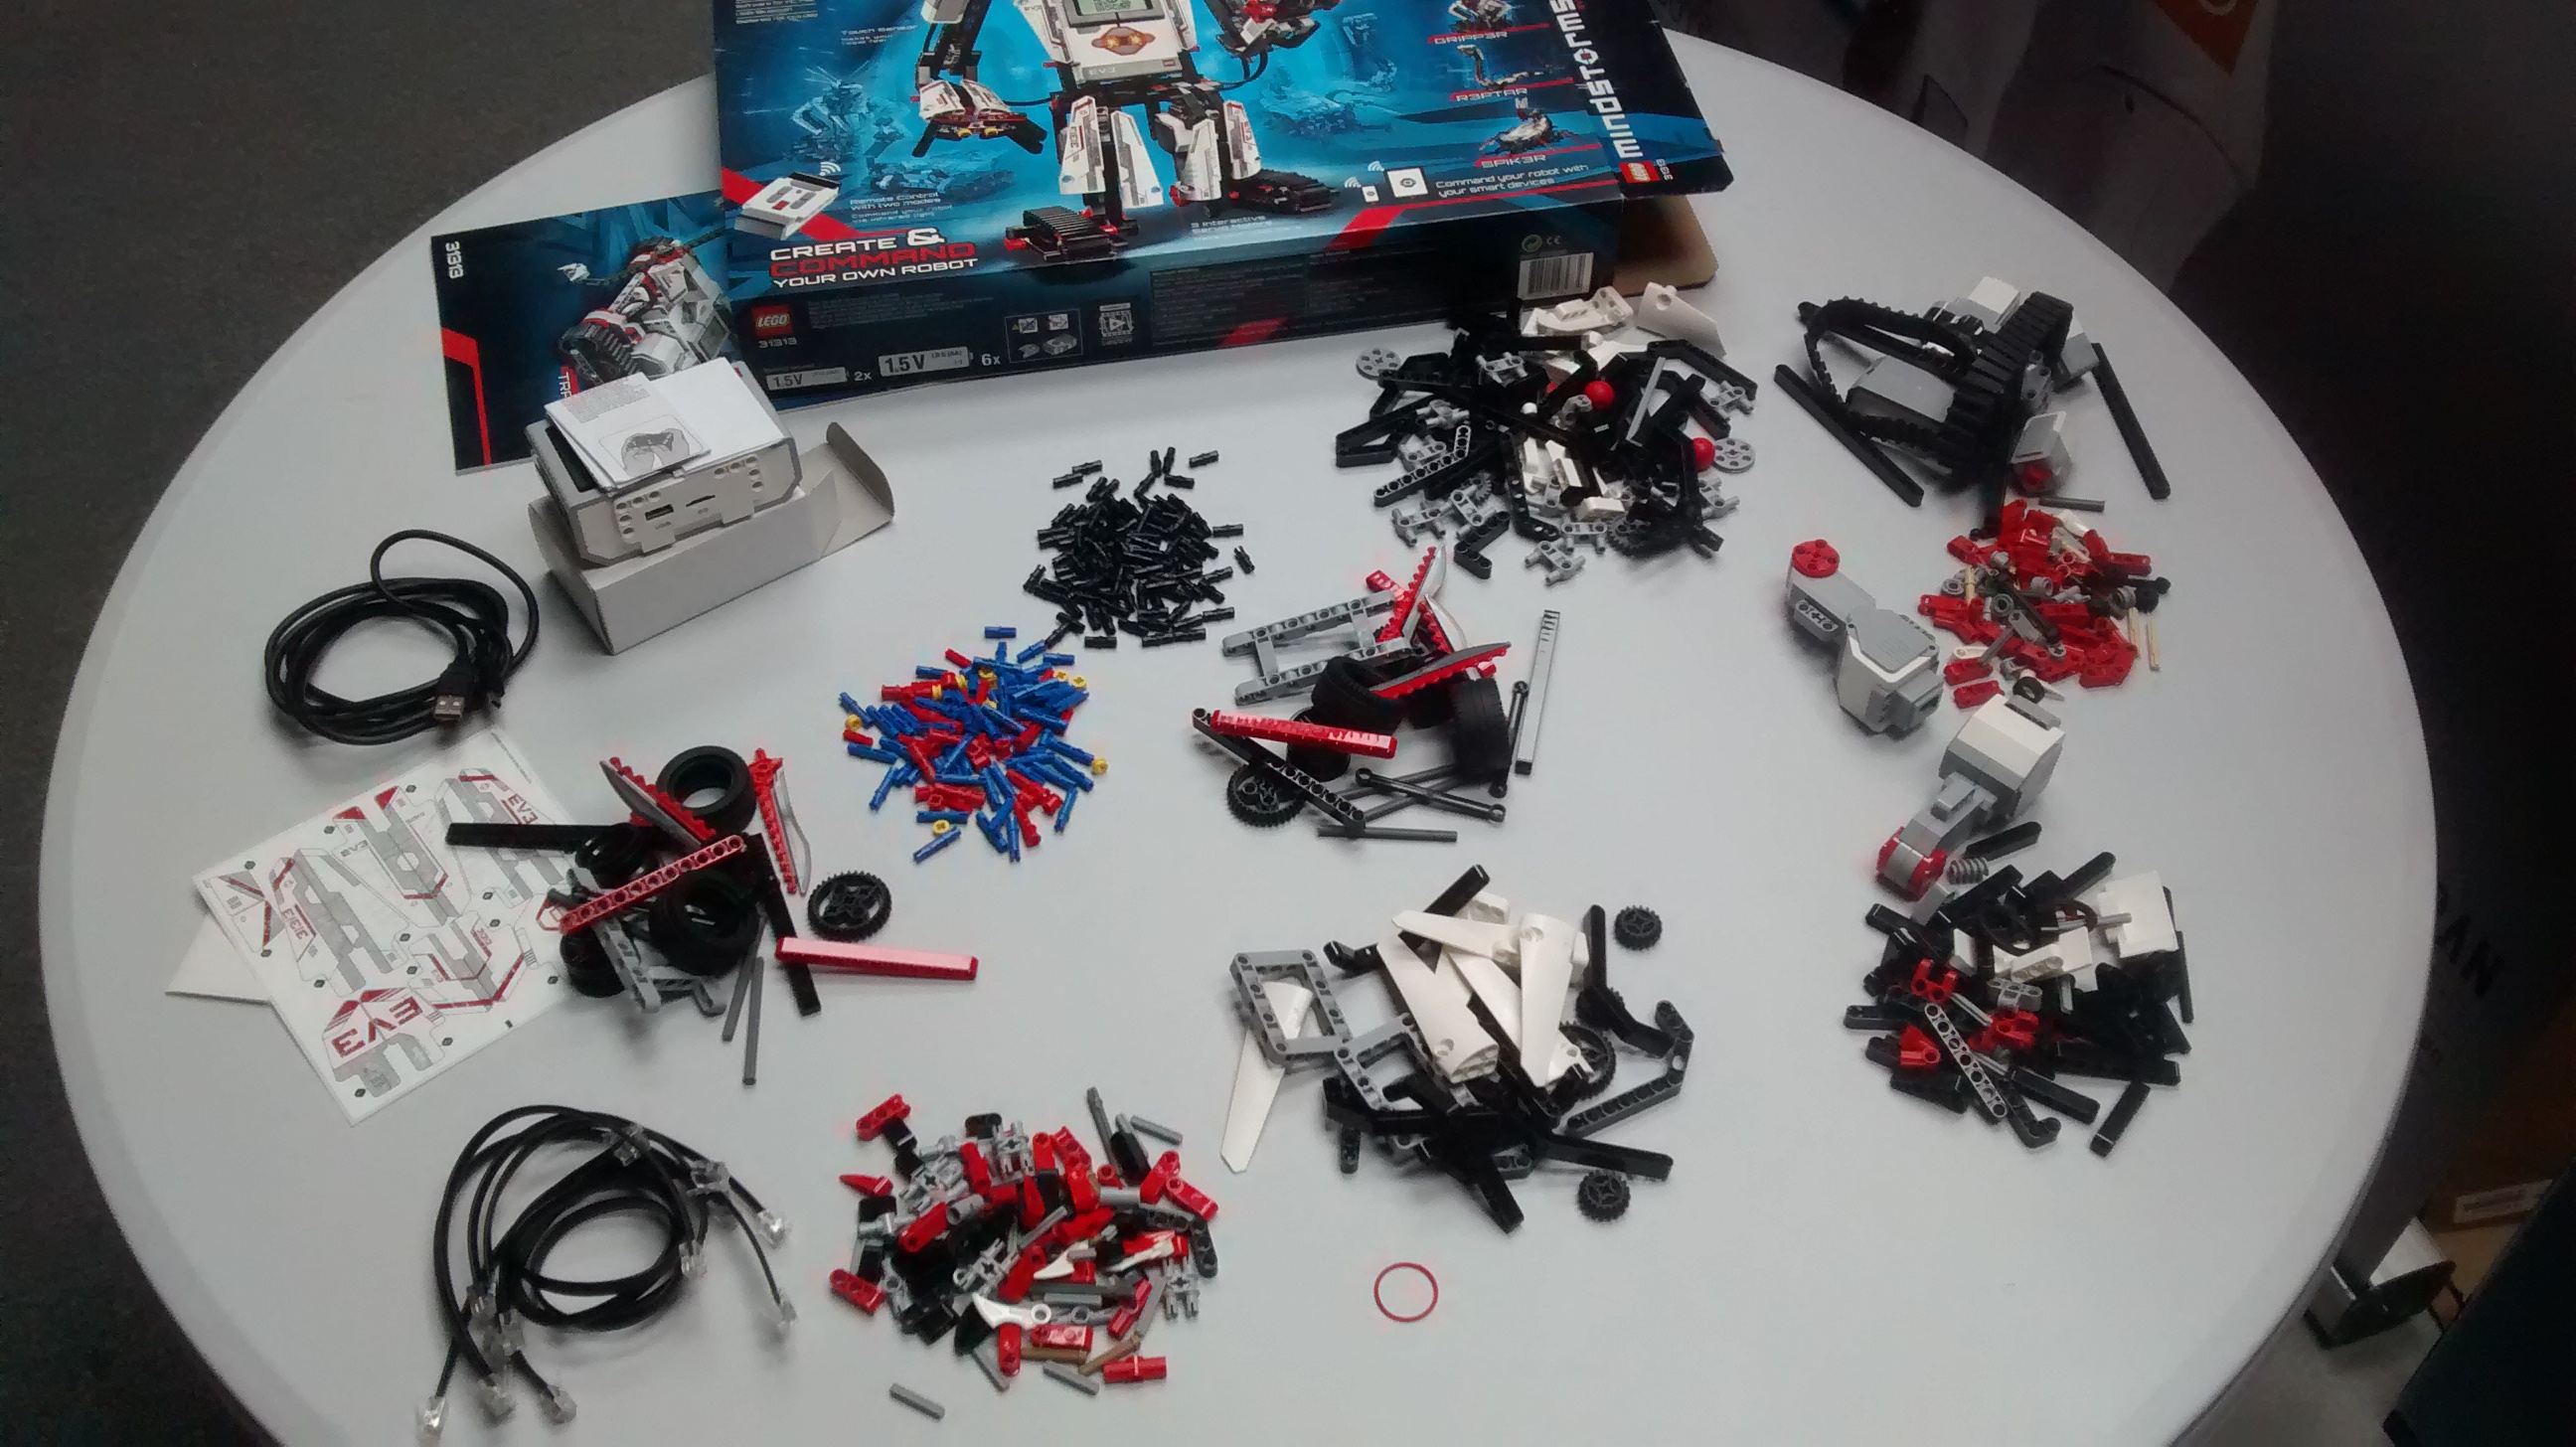
The first thing I did out of instinct was to open the box and sort out all the bags and their parts. With them all laid out in front of me I then ventured onto their website (LEGO.com/mindstorms) to download the instructions for my first build. I was shocked by how many different models there were. The box showed 5 different ones which was very impressive, but the website had 17 models I could make!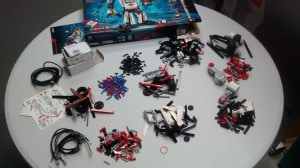
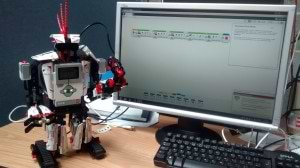
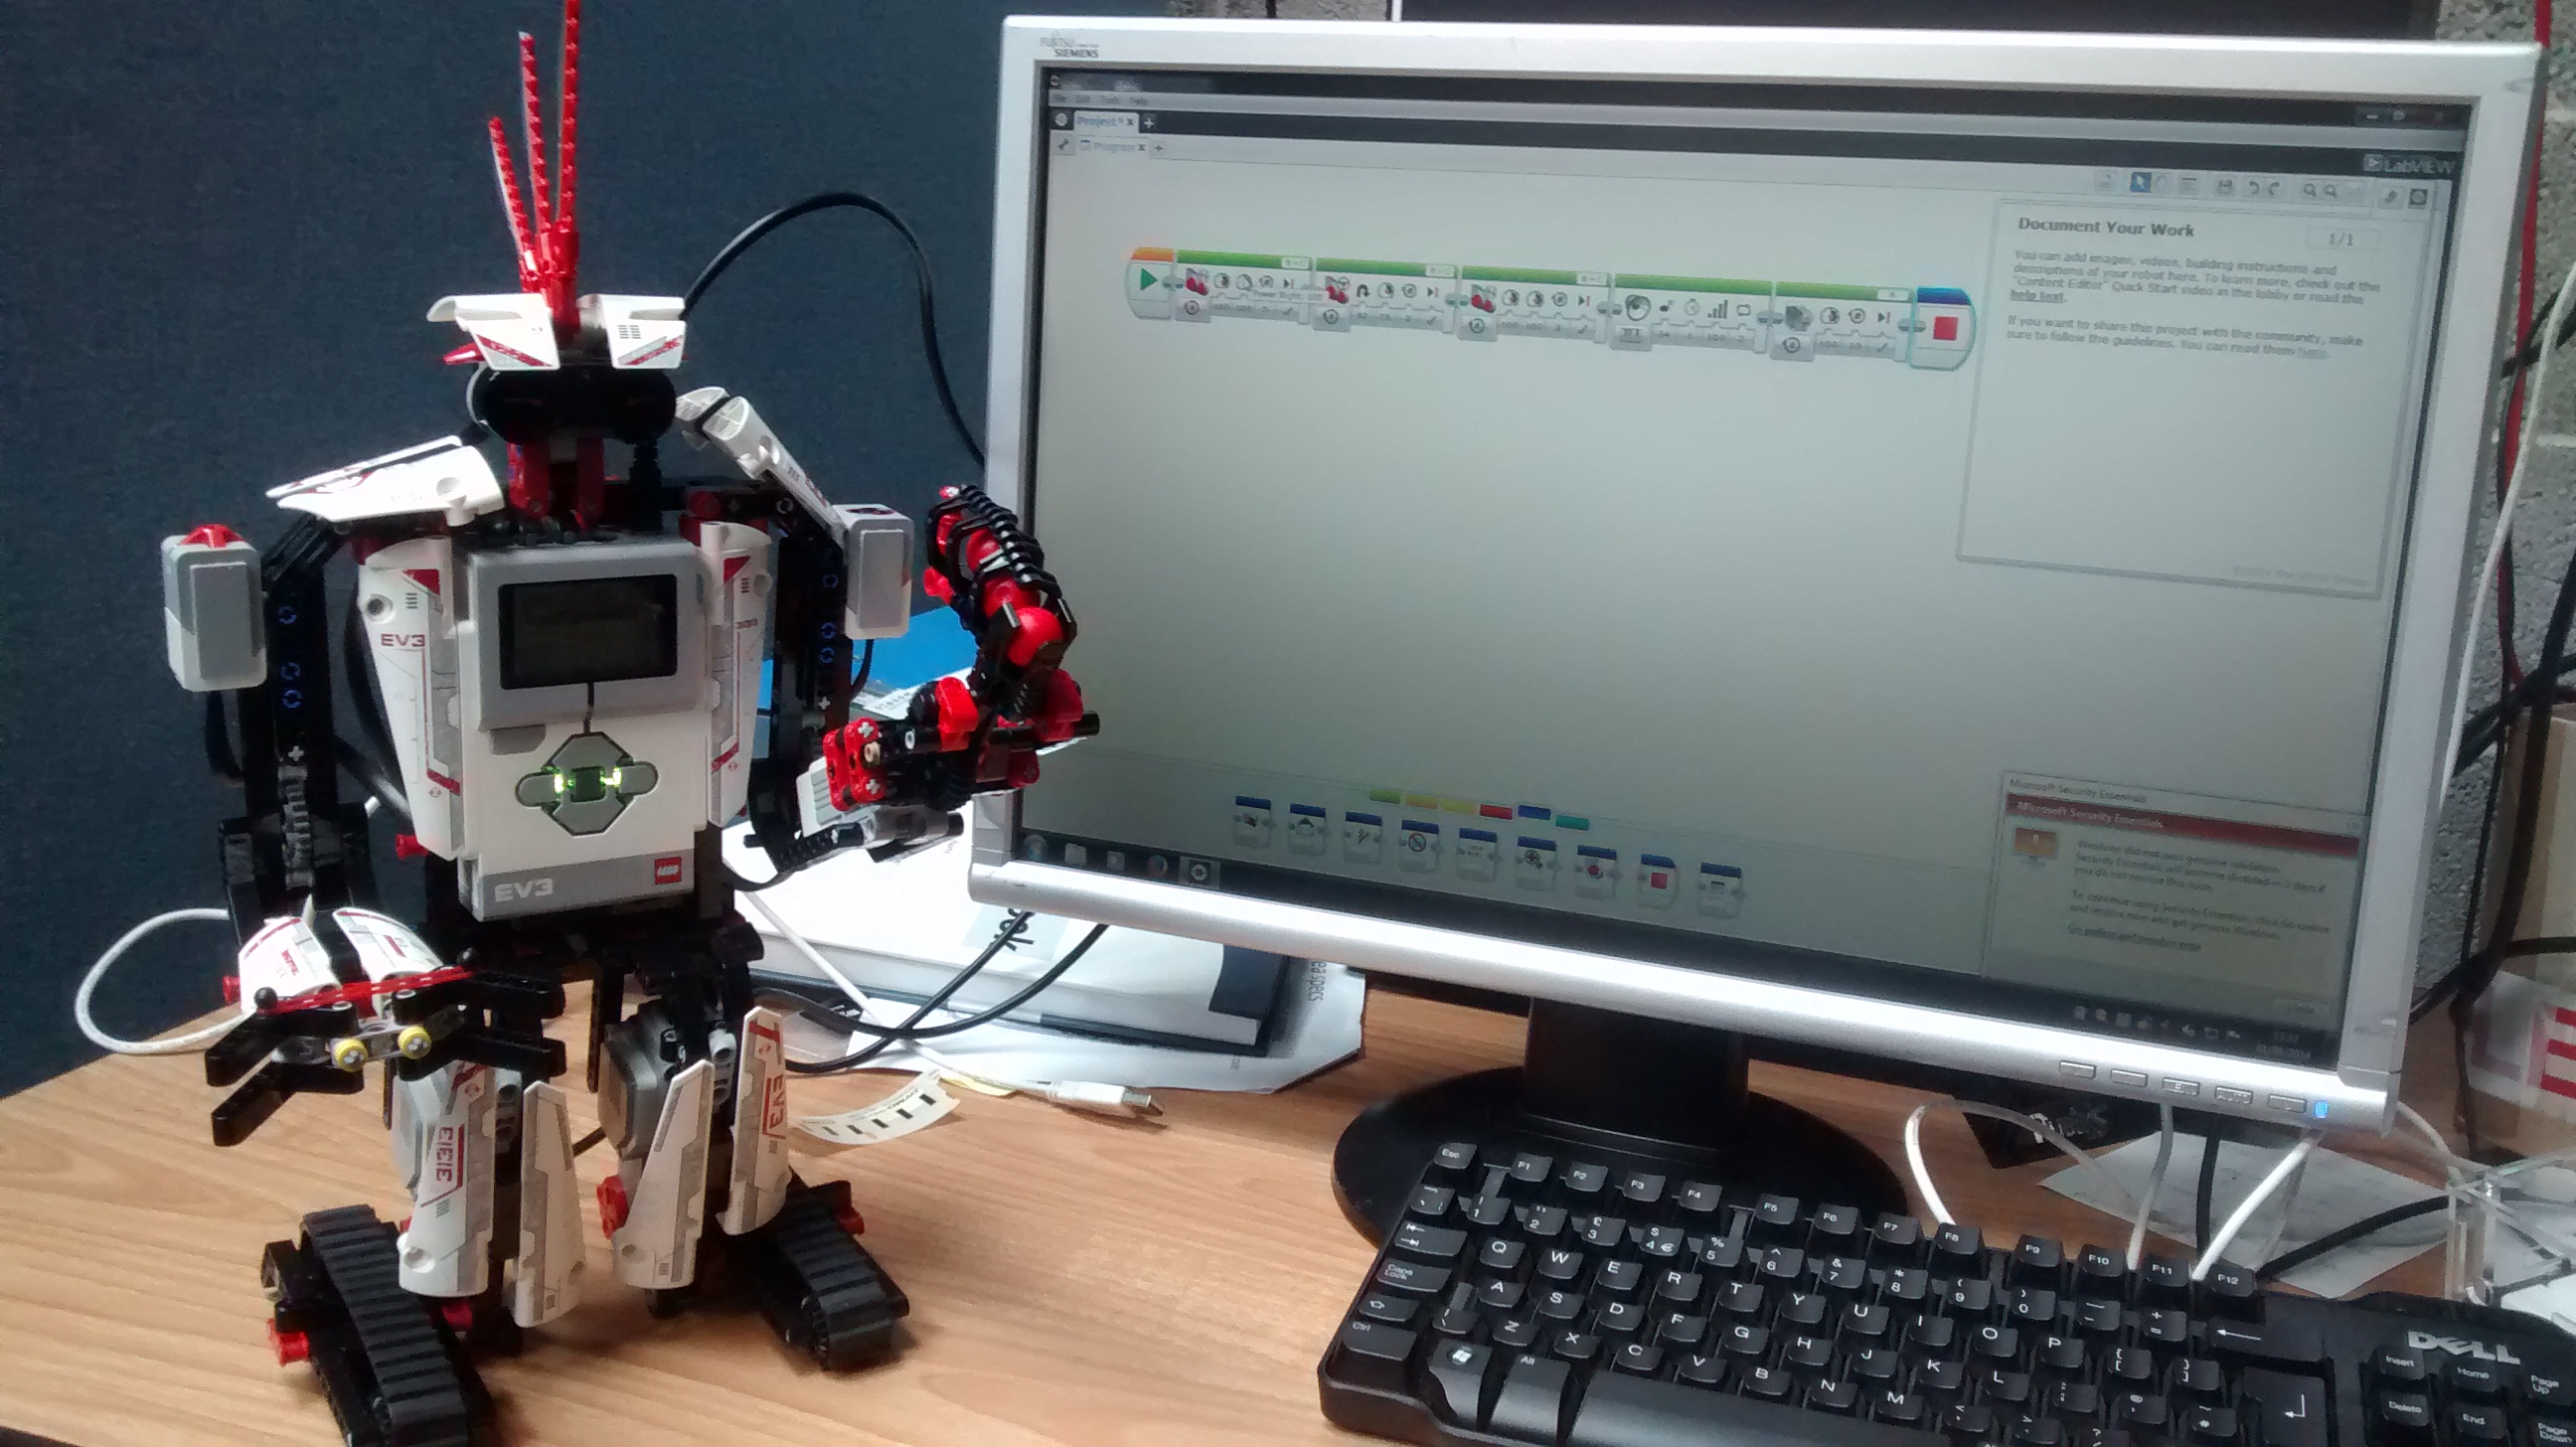
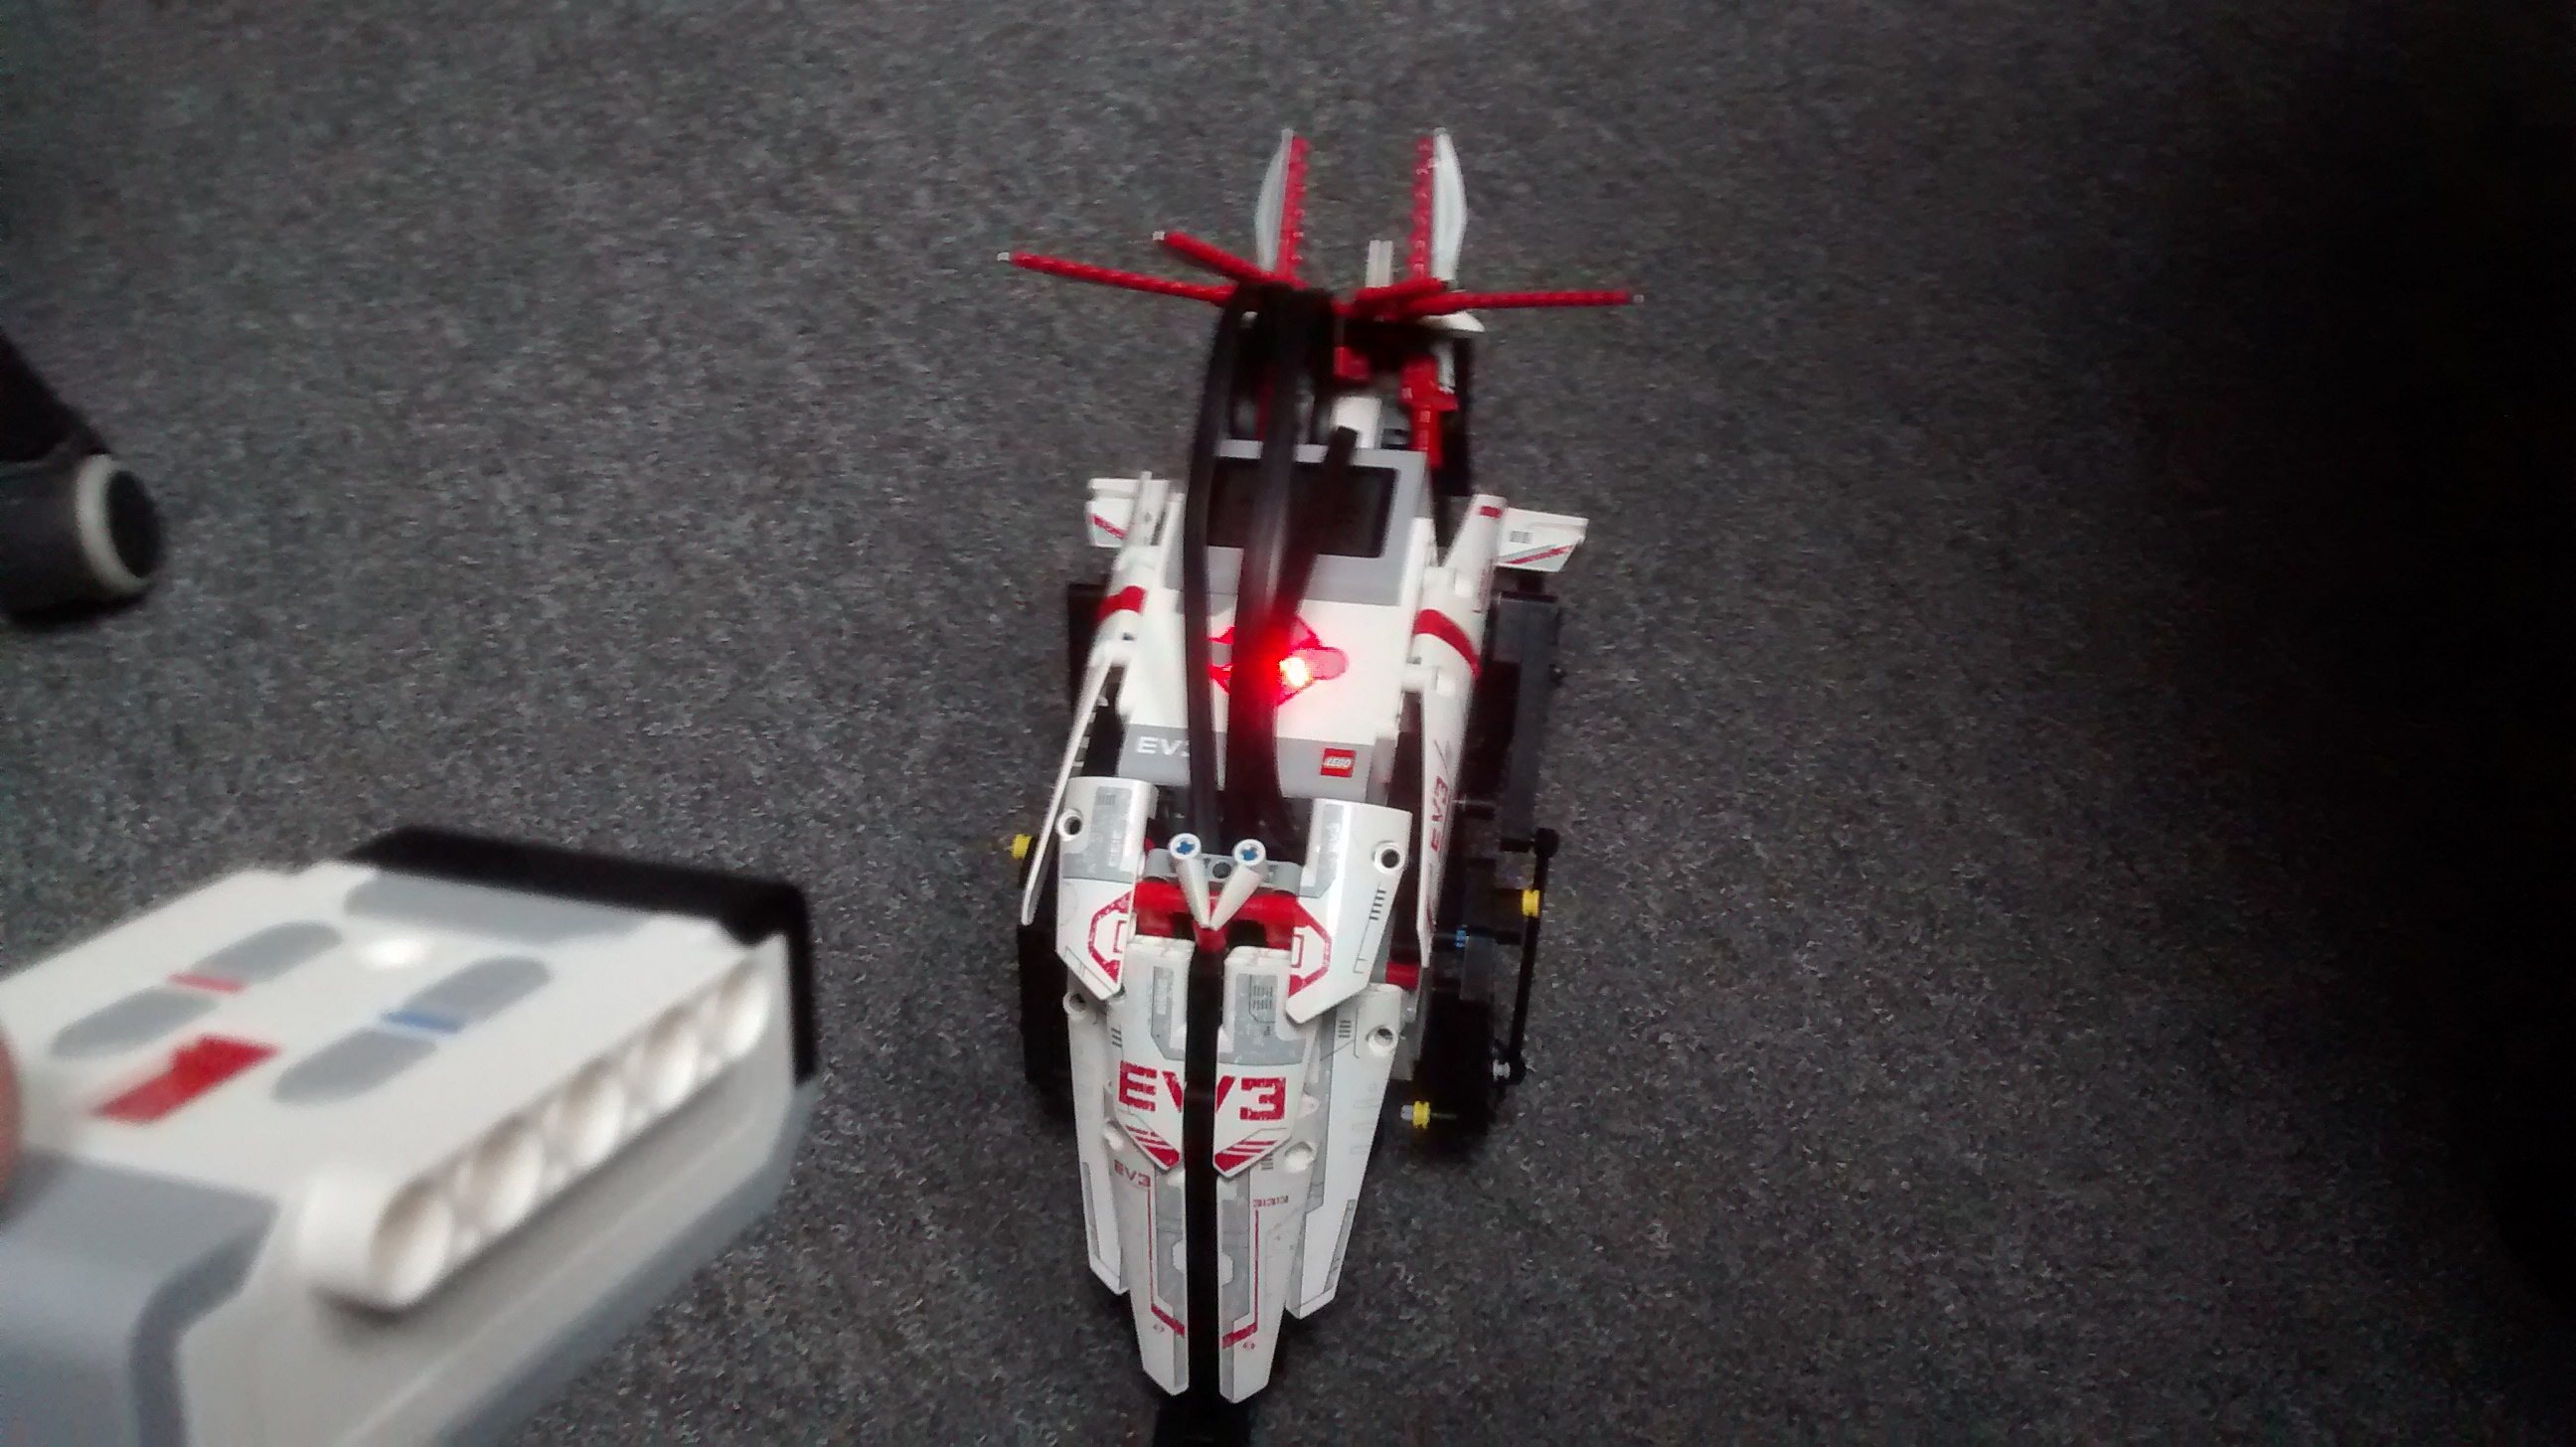
EV3RSTORM The first one I picked was the flagship model, the "EV3RSTORM". I downloaded the instructions and began work. It gradually began taking shape, first I built the servo-powered treads and legs, then began work on the body and arm attachments. It was very simple to build it and was a lot stronger and sturdier than most models I'd built as a child. An hour or so later and it had been built. The left arm came with a choice of attachments, a spinning blade or a cannon. I downloaded the necessary programs off of the website and began experimenting with the robot. The program was quite a basic one, and allowed me to use the controller to move the robot and fire the cannon or spin the blades.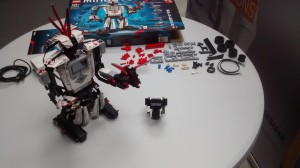 The software for writing and programming the robot was extremely simple. In true LEGO style it had modular 'blocks' for different actions and operations. Apart from the Juke Bots I had no experience with programming, but within 10 minutes I'd create a program which activated by pushing the touch sensor on its shoulder. This made the robot spin around whilst firing and bleeping furiously. This was a great starter model to get a feel of the program and what I could do, but wanted to try out another model and do some more advanced programming.
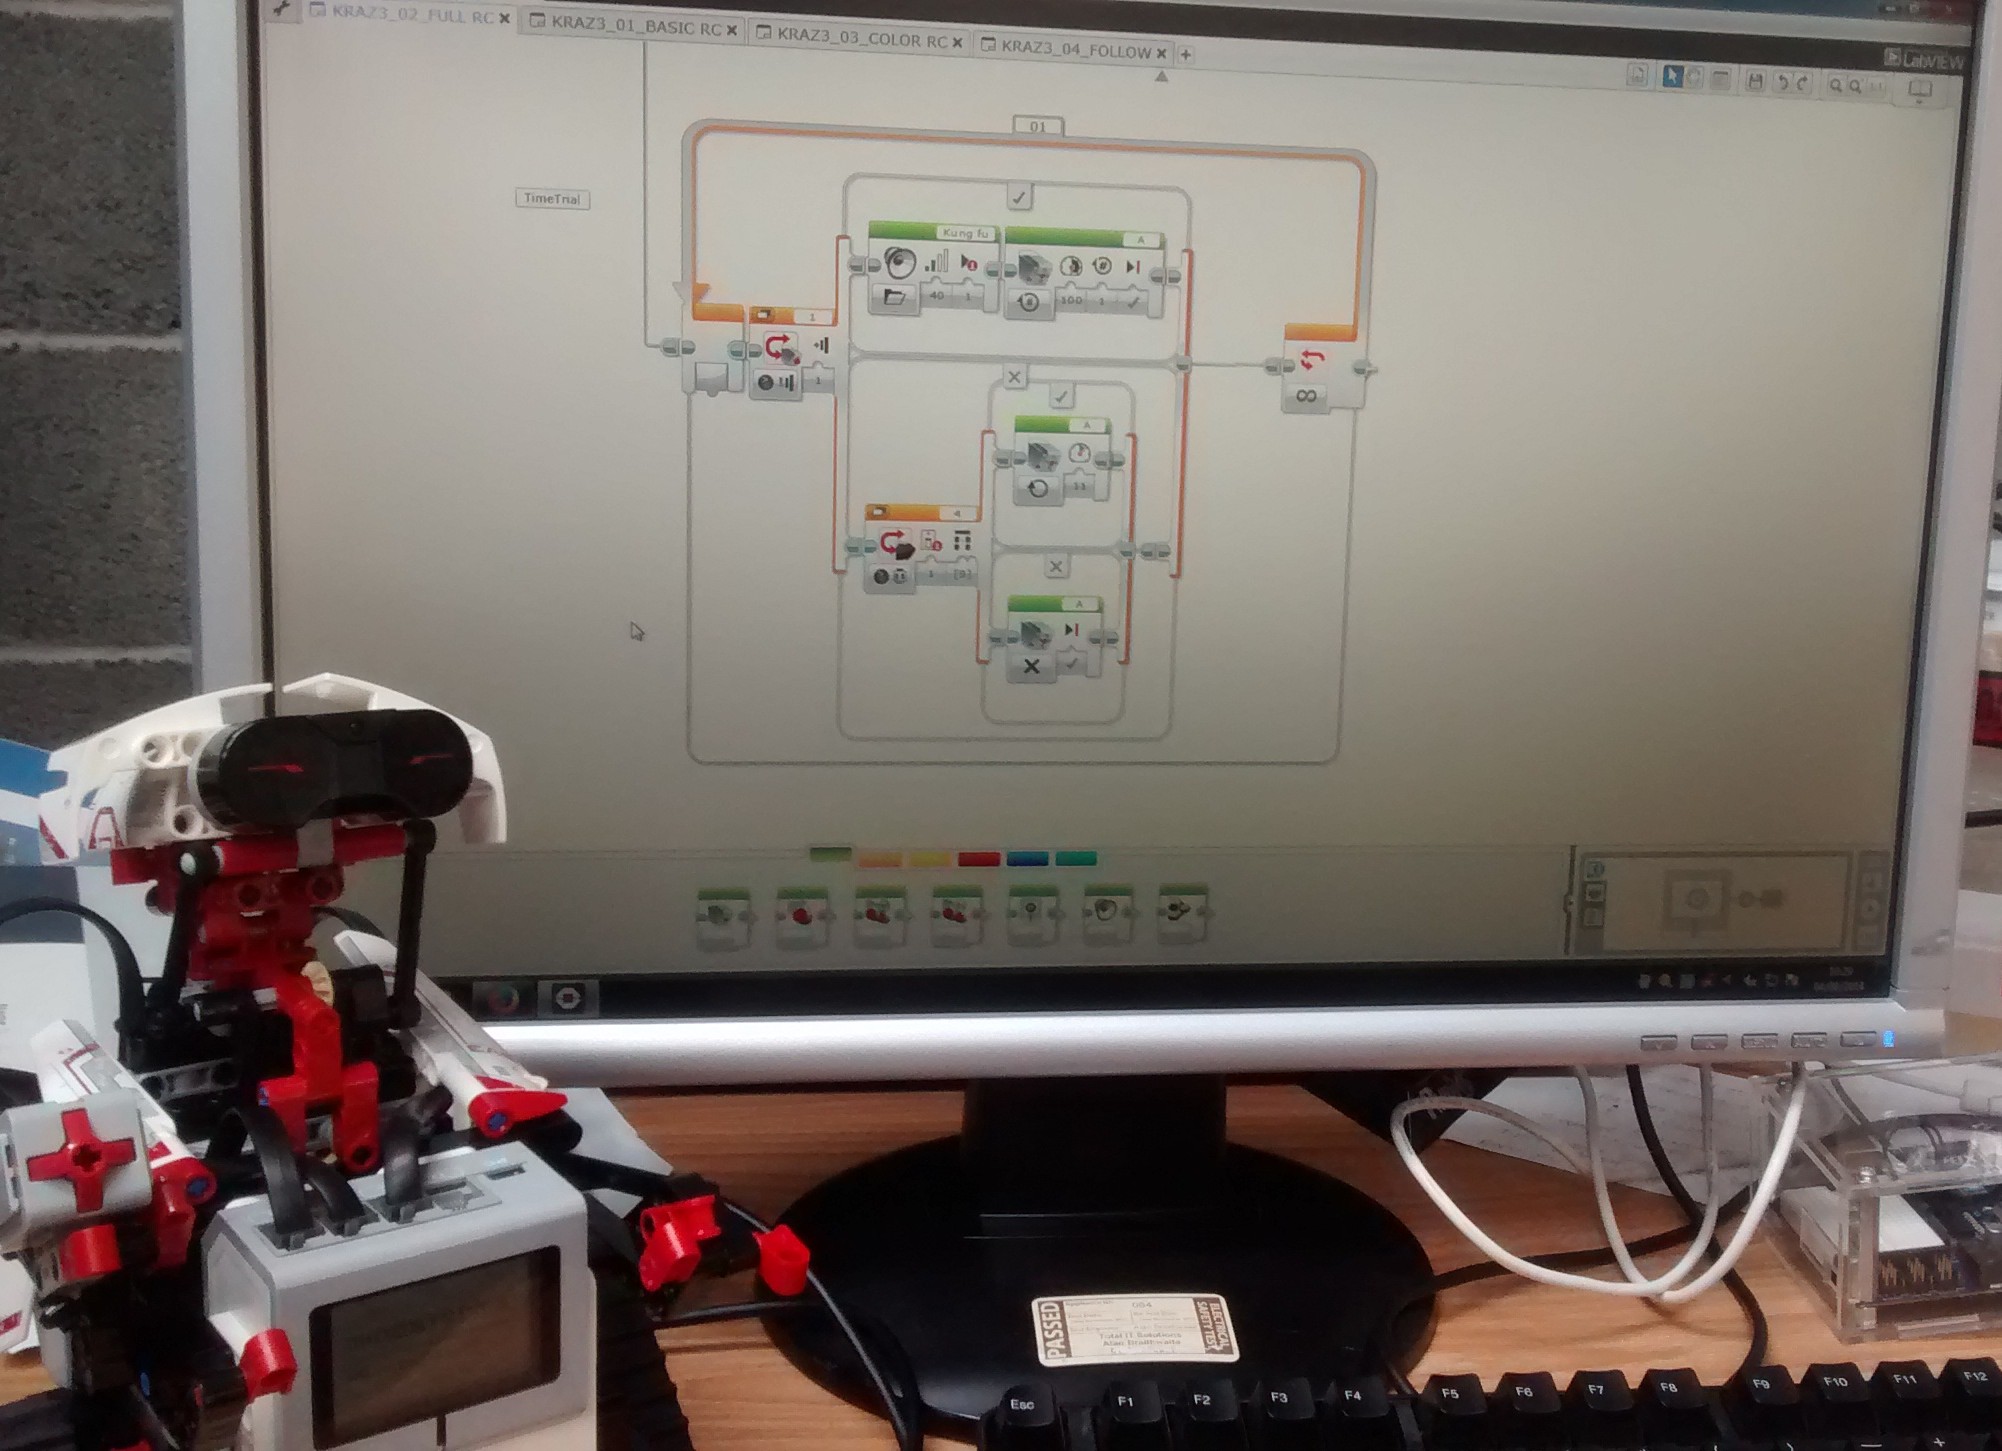
KRAZ3 Being a big Pixar fan I couldn't pass up an opportunity to make a robotic LEGO Wall-E (Yes something that amazing does actually exist). This build looked like it could be used for a lot of advanced programming, as it had backwards servos and the colour sensor was on the ground, not placed on its shoulder like the EV3RSTORM. I took apart the robot and began using the parts to make "KRAZ3".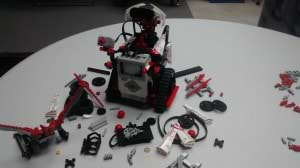 The build was once again extremely sturdy and easy to do. Before long I had my very own Wall-E ready to program.
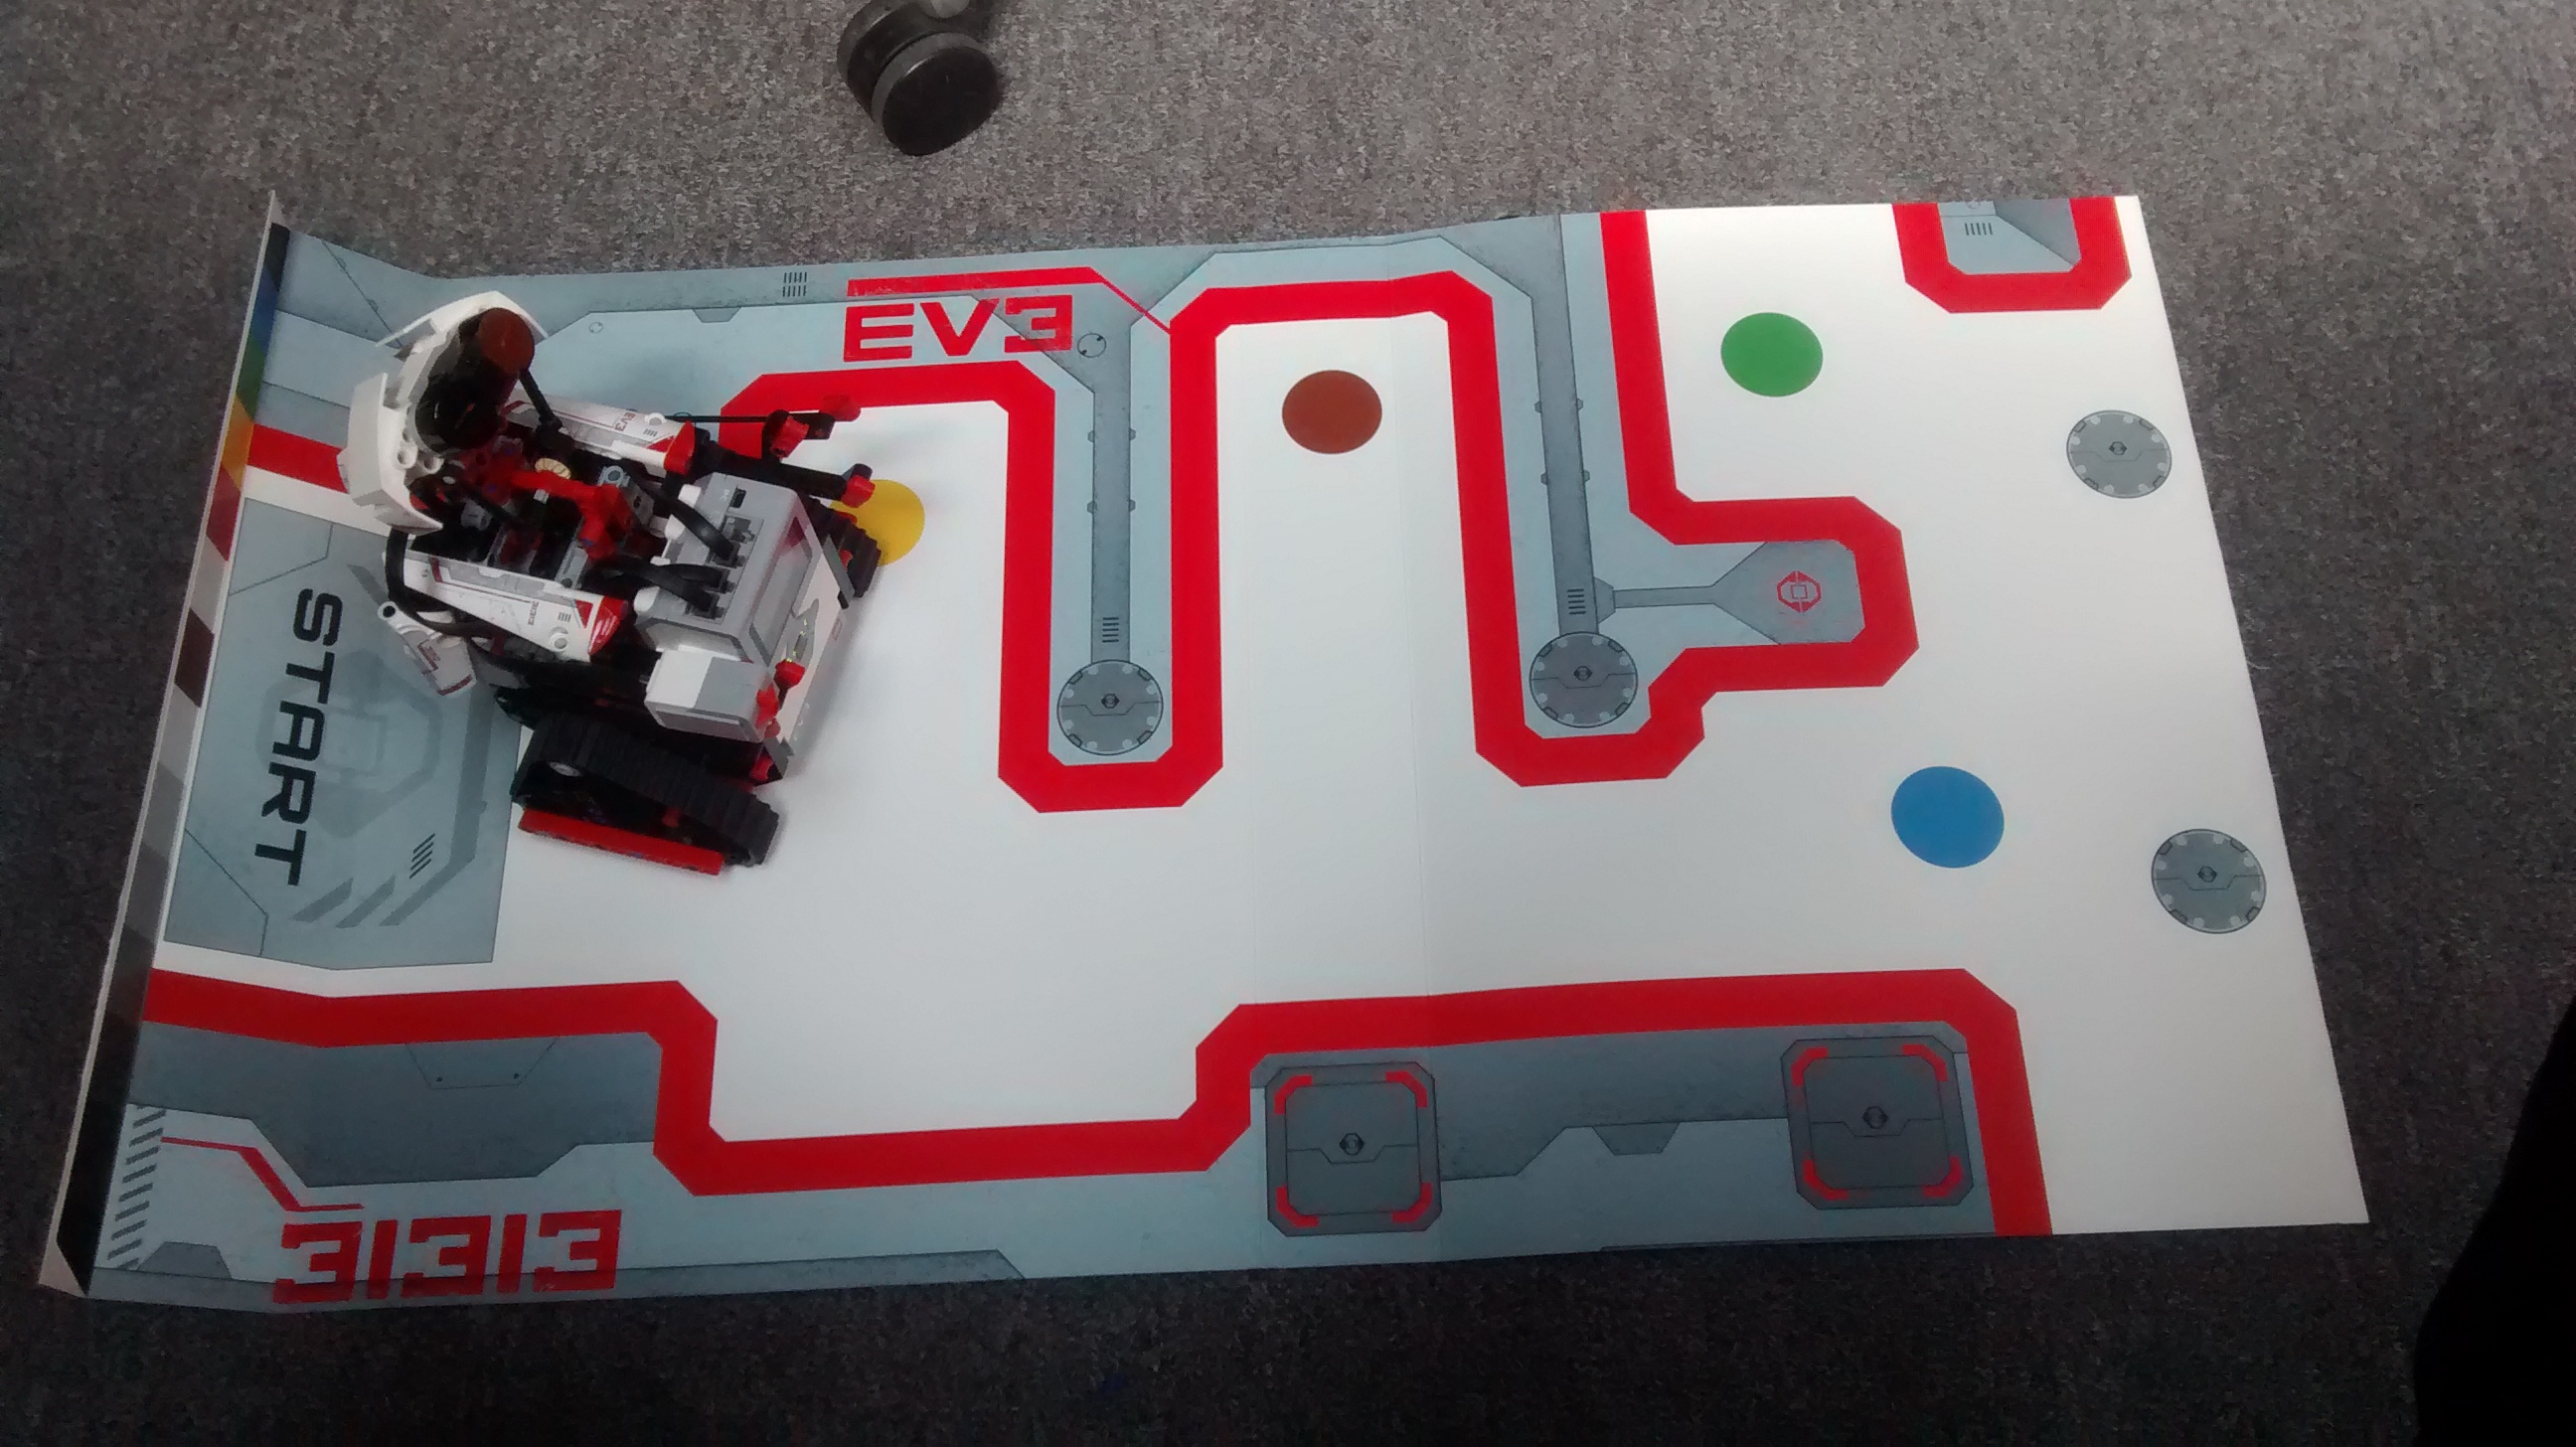
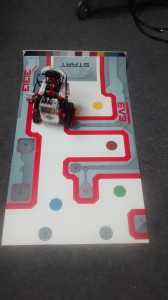 I downloaded the example software and began giving it a go. I picked apart their program looking to see how it all worked. The backwards servos were countered simply by changing the power to a minus number, and the colour sensor was easy to program and use. They had two really interesting programs I began using. Around the box, acting like a sleeve, was a course which can be laid out and used to test programs. This has a path with a red outline and different coloured spots dotted about. The first program allowed you to remotely control the bot and manoeuvre around the track. Upon going over a spot it triggers different responses. Going over blue made a fanfare, whereas going over yellow made it going into kung fu mode, waving it's arms and going "Hyah!".
 The second program was equally as interesting; it allowed the bot to follow me. Using the RC as a beacon, it began rolling behind me as I walked around the room, my own pet robot!
After this I began trying to make my own program. The idea was that by using a random operation, I could get the bot to yell out a colour, and then I'd have to drive him over to it avoided the others. It got a bit jumbled with switches inside switches inside loops, but was still intuitive and could still be followed. I downloaded it to KRAZ3 and began. "Brown!" He yelled. By using the controller I rolled him over to the brown spot. He congratulated me with a fanfare and bleeps. I wanted to test out my entire program, so I tried it again. "Blue!" I once again rolled him around, but this time I took him to yellow, the horror! He began shouting and shaking his head and arms angrily. It all worked! Programming using the LEGO software was a lot easier than trying to program the Juke bots, not so easy I got bored, but not so hard that I wanted to flatten it into a cube! With two tracked robots made, I decided to try out something different...
The second program was equally as interesting; it allowed the bot to follow me. Using the RC as a beacon, it began rolling behind me as I walked around the room, my own pet robot!
After this I began trying to make my own program. The idea was that by using a random operation, I could get the bot to yell out a colour, and then I'd have to drive him over to it avoided the others. It got a bit jumbled with switches inside switches inside loops, but was still intuitive and could still be followed. I downloaded it to KRAZ3 and began. "Brown!" He yelled. By using the controller I rolled him over to the brown spot. He congratulated me with a fanfare and bleeps. I wanted to test out my entire program, so I tried it again. "Blue!" I once again rolled him around, but this time I took him to yellow, the horror! He began shouting and shaking his head and arms angrily. It all worked! Programming using the LEGO software was a lot easier than trying to program the Juke bots, not so easy I got bored, but not so hard that I wanted to flatten it into a cube! With two tracked robots made, I decided to try out something different...
DINOR3X
One of the models that stood out to me was "DINOR3X". Unlike the other models which used wheels and tracks, this one used legs to move around. Hexapods use 18 servo motors in their legs, so I was interested to see how this worked using only 2.
It was very impressive to see the leg mechanics in action, especially using only the parts that came with the set. With the basic program downloaded, I began reading the challenges it set, and went about working on new programs.
The first task was to add the colour sensor, which I did using the spare parts that weren't used for the dinosaur. Now I had to program it so the dinosaur roared and moved its jaw when it went over certain colours, and make other noises when it goes over the wrong ones. This time my program wasn't as clustered as the first, and I tested it out. Success! The dino began roaring triumphantly as it walked over a blue spot.
With that challenge done the next was to get it working with the remote control. By looking at the RC code that was used to program KRAZ3, I quickly understood how it worked and began setting it up to work on DINOR3X. I finished it up and downloaded it to the robot. I pushed down both the forward buttons and it began hopping forward, the leg pieces became separated under the force of the dino. I popped them back in and tried a different approach. I pushed down the top left button, which I'd programmed to move the left legs. I then switched between pushing the left and right buttons to make it have a proper gait instead of hopping and crushing its legs. Now I knew why it didn't work, I began editing my program so pushing down the left button made the left legs move, then wait, then move the right legs. With those two assigned to the left buttons, I programmed the right ones to control the jaw and the sound. My robotic dinosaur was now fully operational!
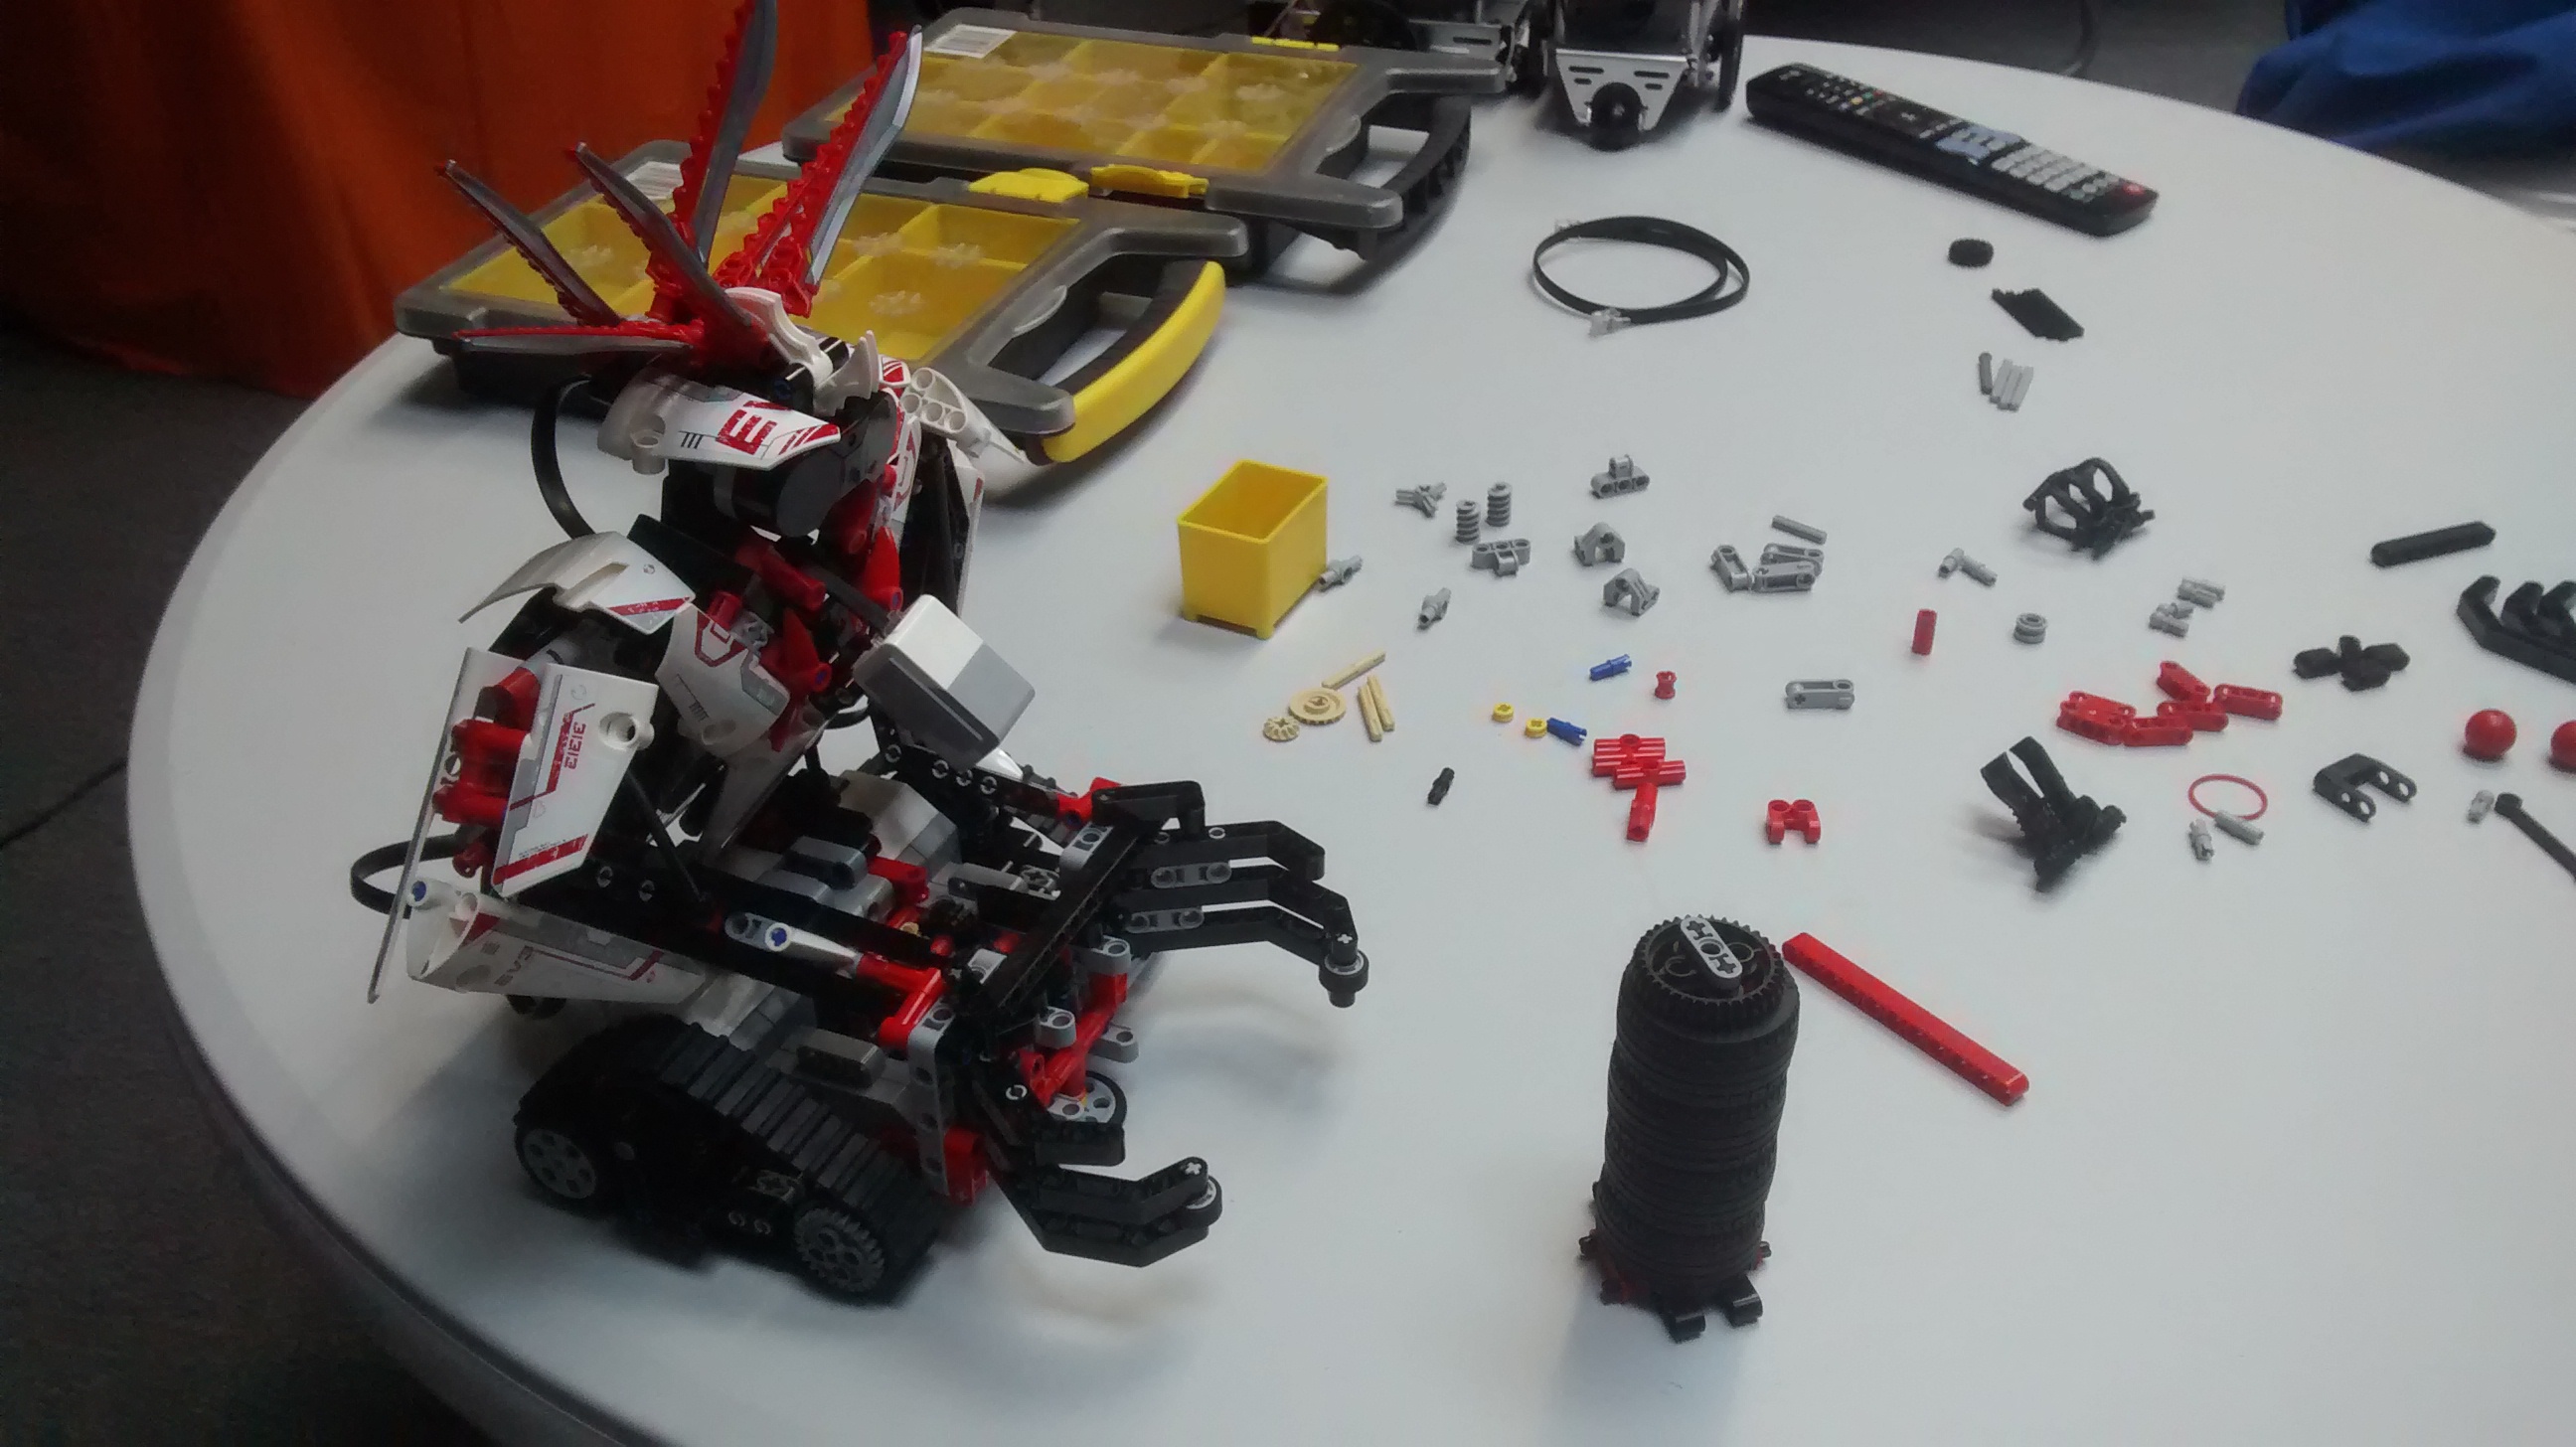
GRIPP3R Another model which had interesting mechanics was "GRIPP3R". I took apart DINOR3X and began building the heavy handed robot.
This was another one which was quite simple to program. I installed it into the bot and began zooming around. I'd also built the barrel that comes with it, and tested the gripping mechanism. I drove the bot in front and with the push of a button its grippers closed around the barrel and lifted it up, before driving around with its trophy.
What I then tried to do was program it to yell out the colour of what it picks up. I began by attaching the colour sensor and positioning it so it's lined up with the barrel. I then used part of the code I used for KRAZ3 and downloaded it to the bot. He drove over the barrel, picked it up aaand... "Black!" It worked! I tried it a few more times and it kept correctly saying black. It was soon pointed out to me, however, that I'd not tested any other colours. I made a red and yellow barrel and drove over to the red one. It picked it up and exclaimed "Black!". We thought maybe it was the dark lighting, so tried it again. "Black!" I tried again. "Black!" This time I tried the yellow barrel. "Black!" it shouted, almost mockingly. I went back to my program and compared it with my working KRAZ3 one. It turns out I'd set black as the default, instead of colourless. I uploaded the tweaked program and tried again. I tested it on the black barrel. It said it's usually colour. Now was the moment of truth, I tested it on the red barrel. "Red!" It worked, for real this time! I tested the yellow barrel; "Yellow!". Pleased I'd finally got it working, I took it apart and began seeing which model I will turn it into next...
R3PTAR
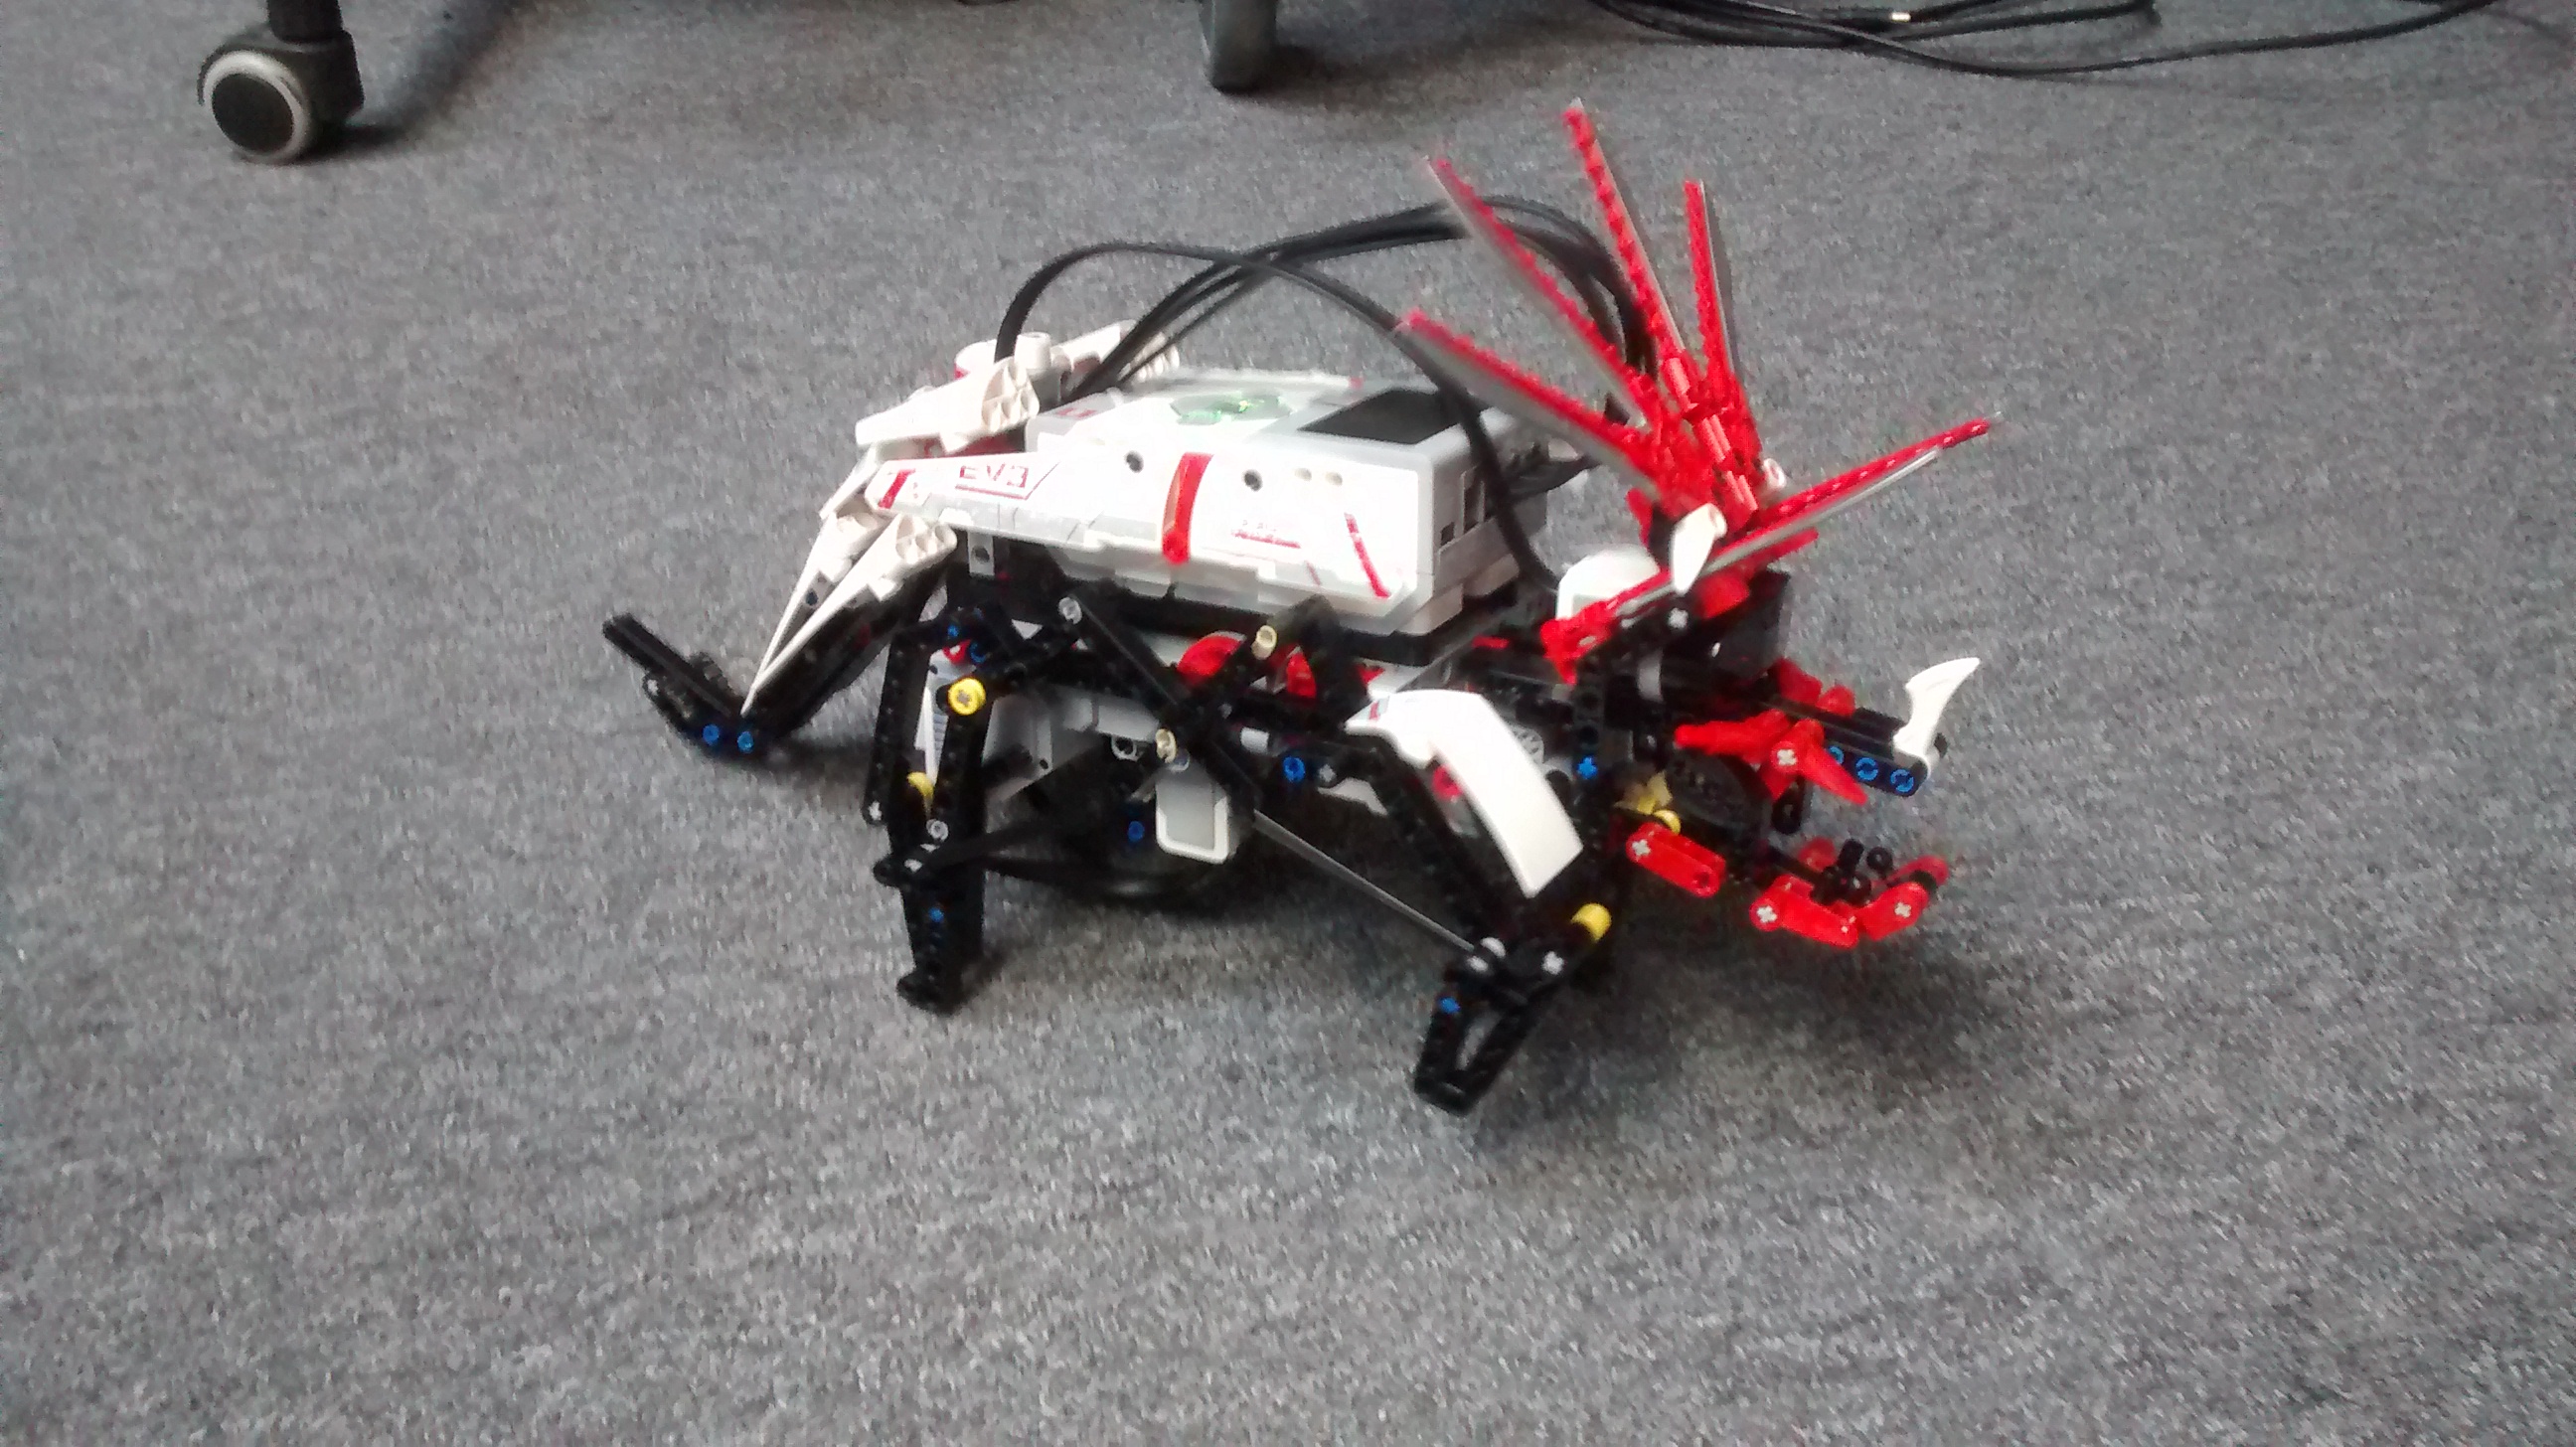
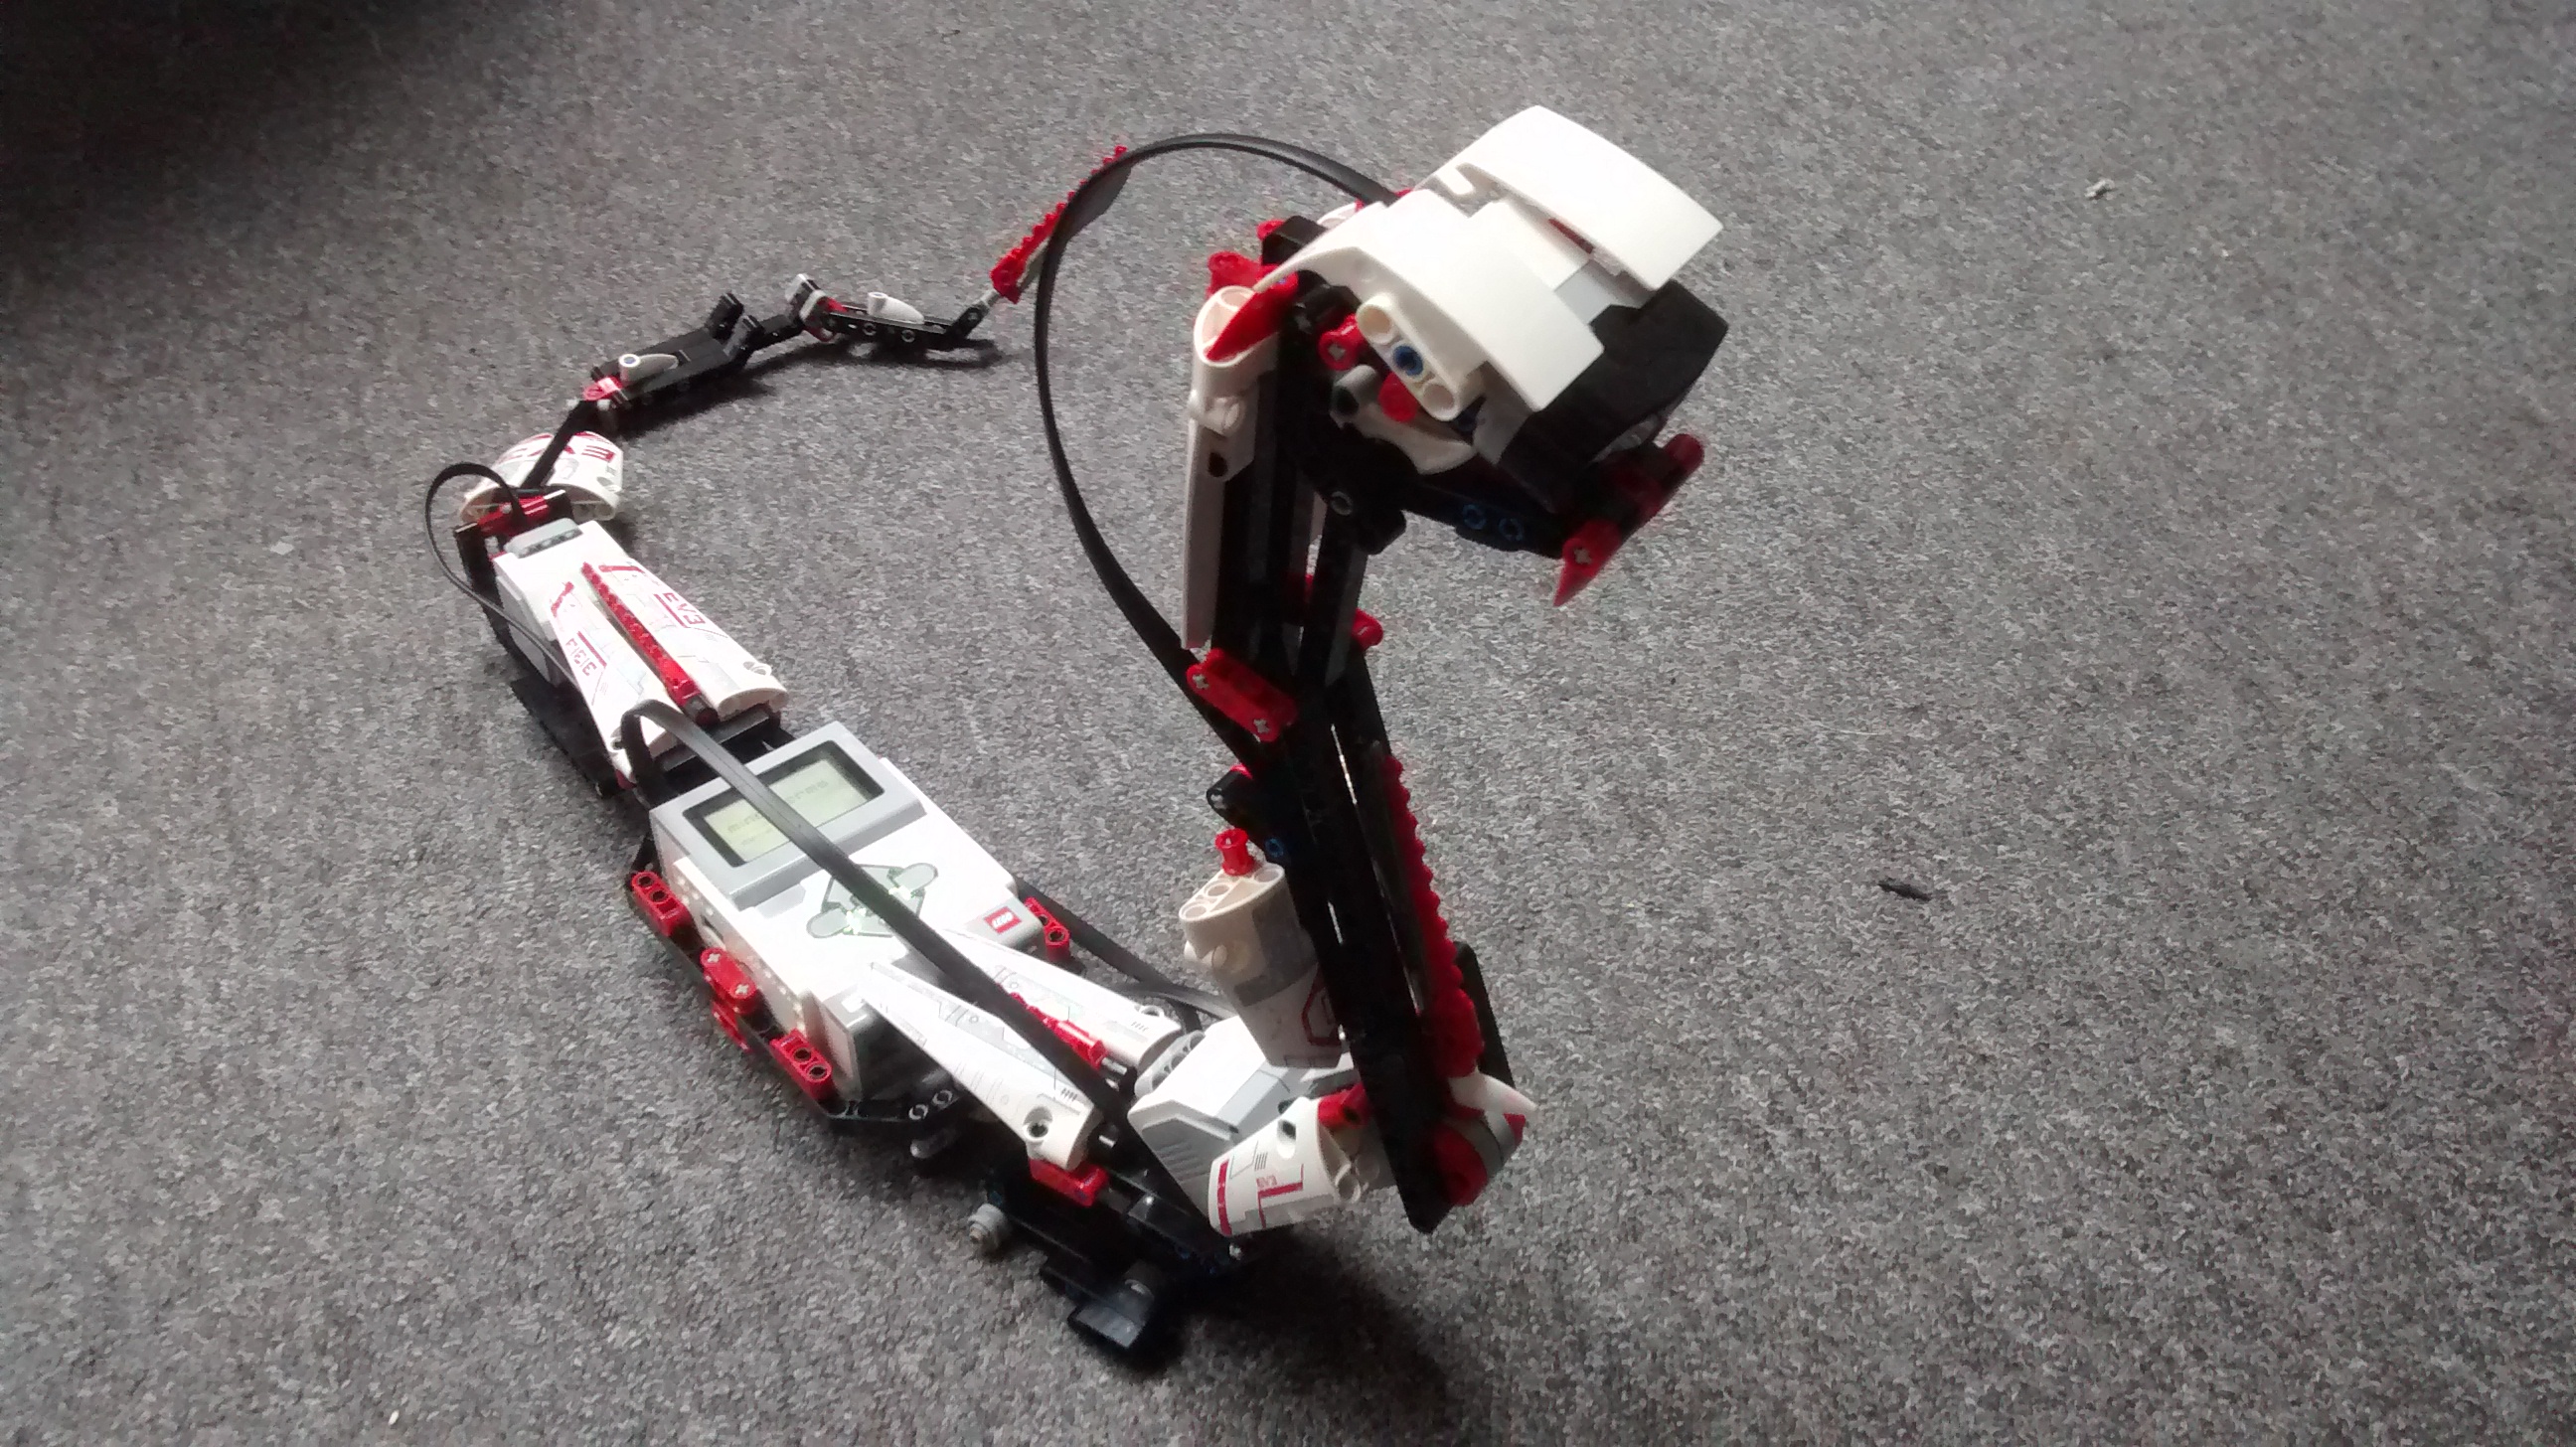
The last one I decided to build was “R3PTAR”. This one was completely different to the others, as it didn’t roll nor walk, but slithered!
This was a relatively simple one to build. I programmed it so I could use the remote control to make it slither about. I was curious as to why there was a motor in its neck, and programmed it to move. The head lunged forward and its mouth open wide to reveal its fangs! I got out the cardboard track again and added the colour sensor to the snake. I programmed it to stop and lunge forward every time it touched the red line, and then to shake successfully when it reached the end. I also added the touch sensor, so petting the snake resulted in a very angry hiss and a show of fangs; he wasn’t a very social snake.
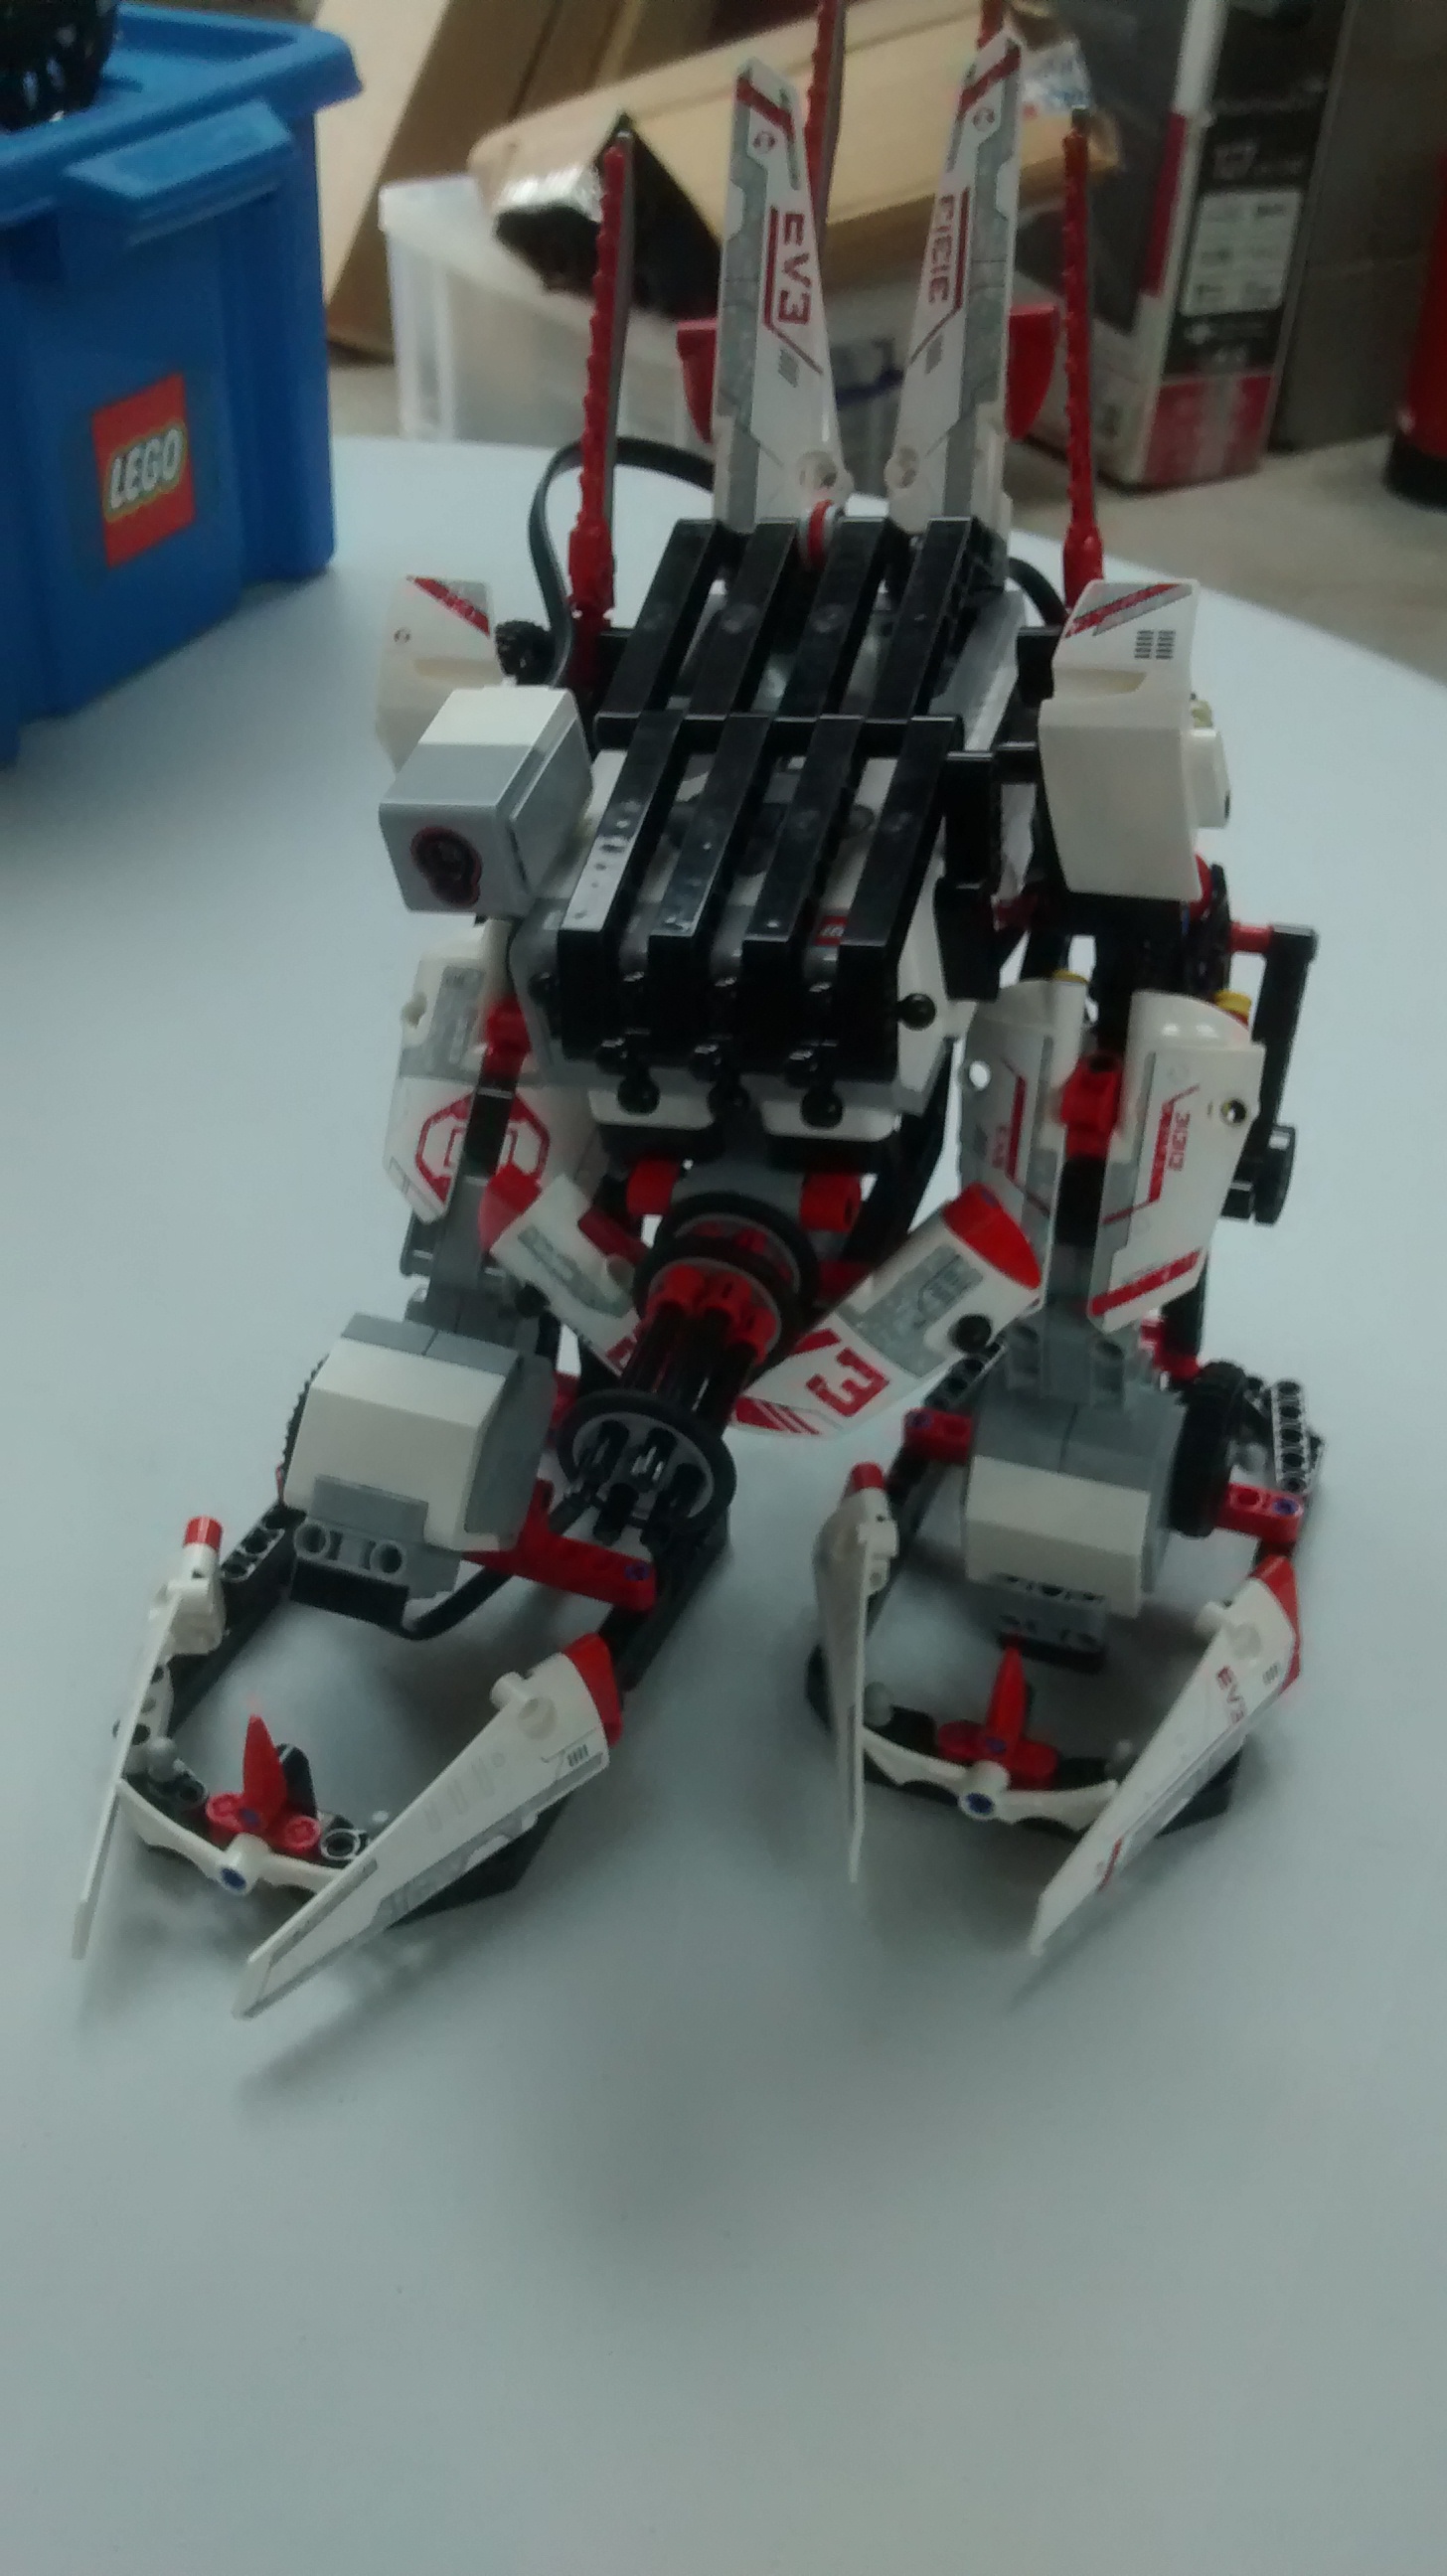
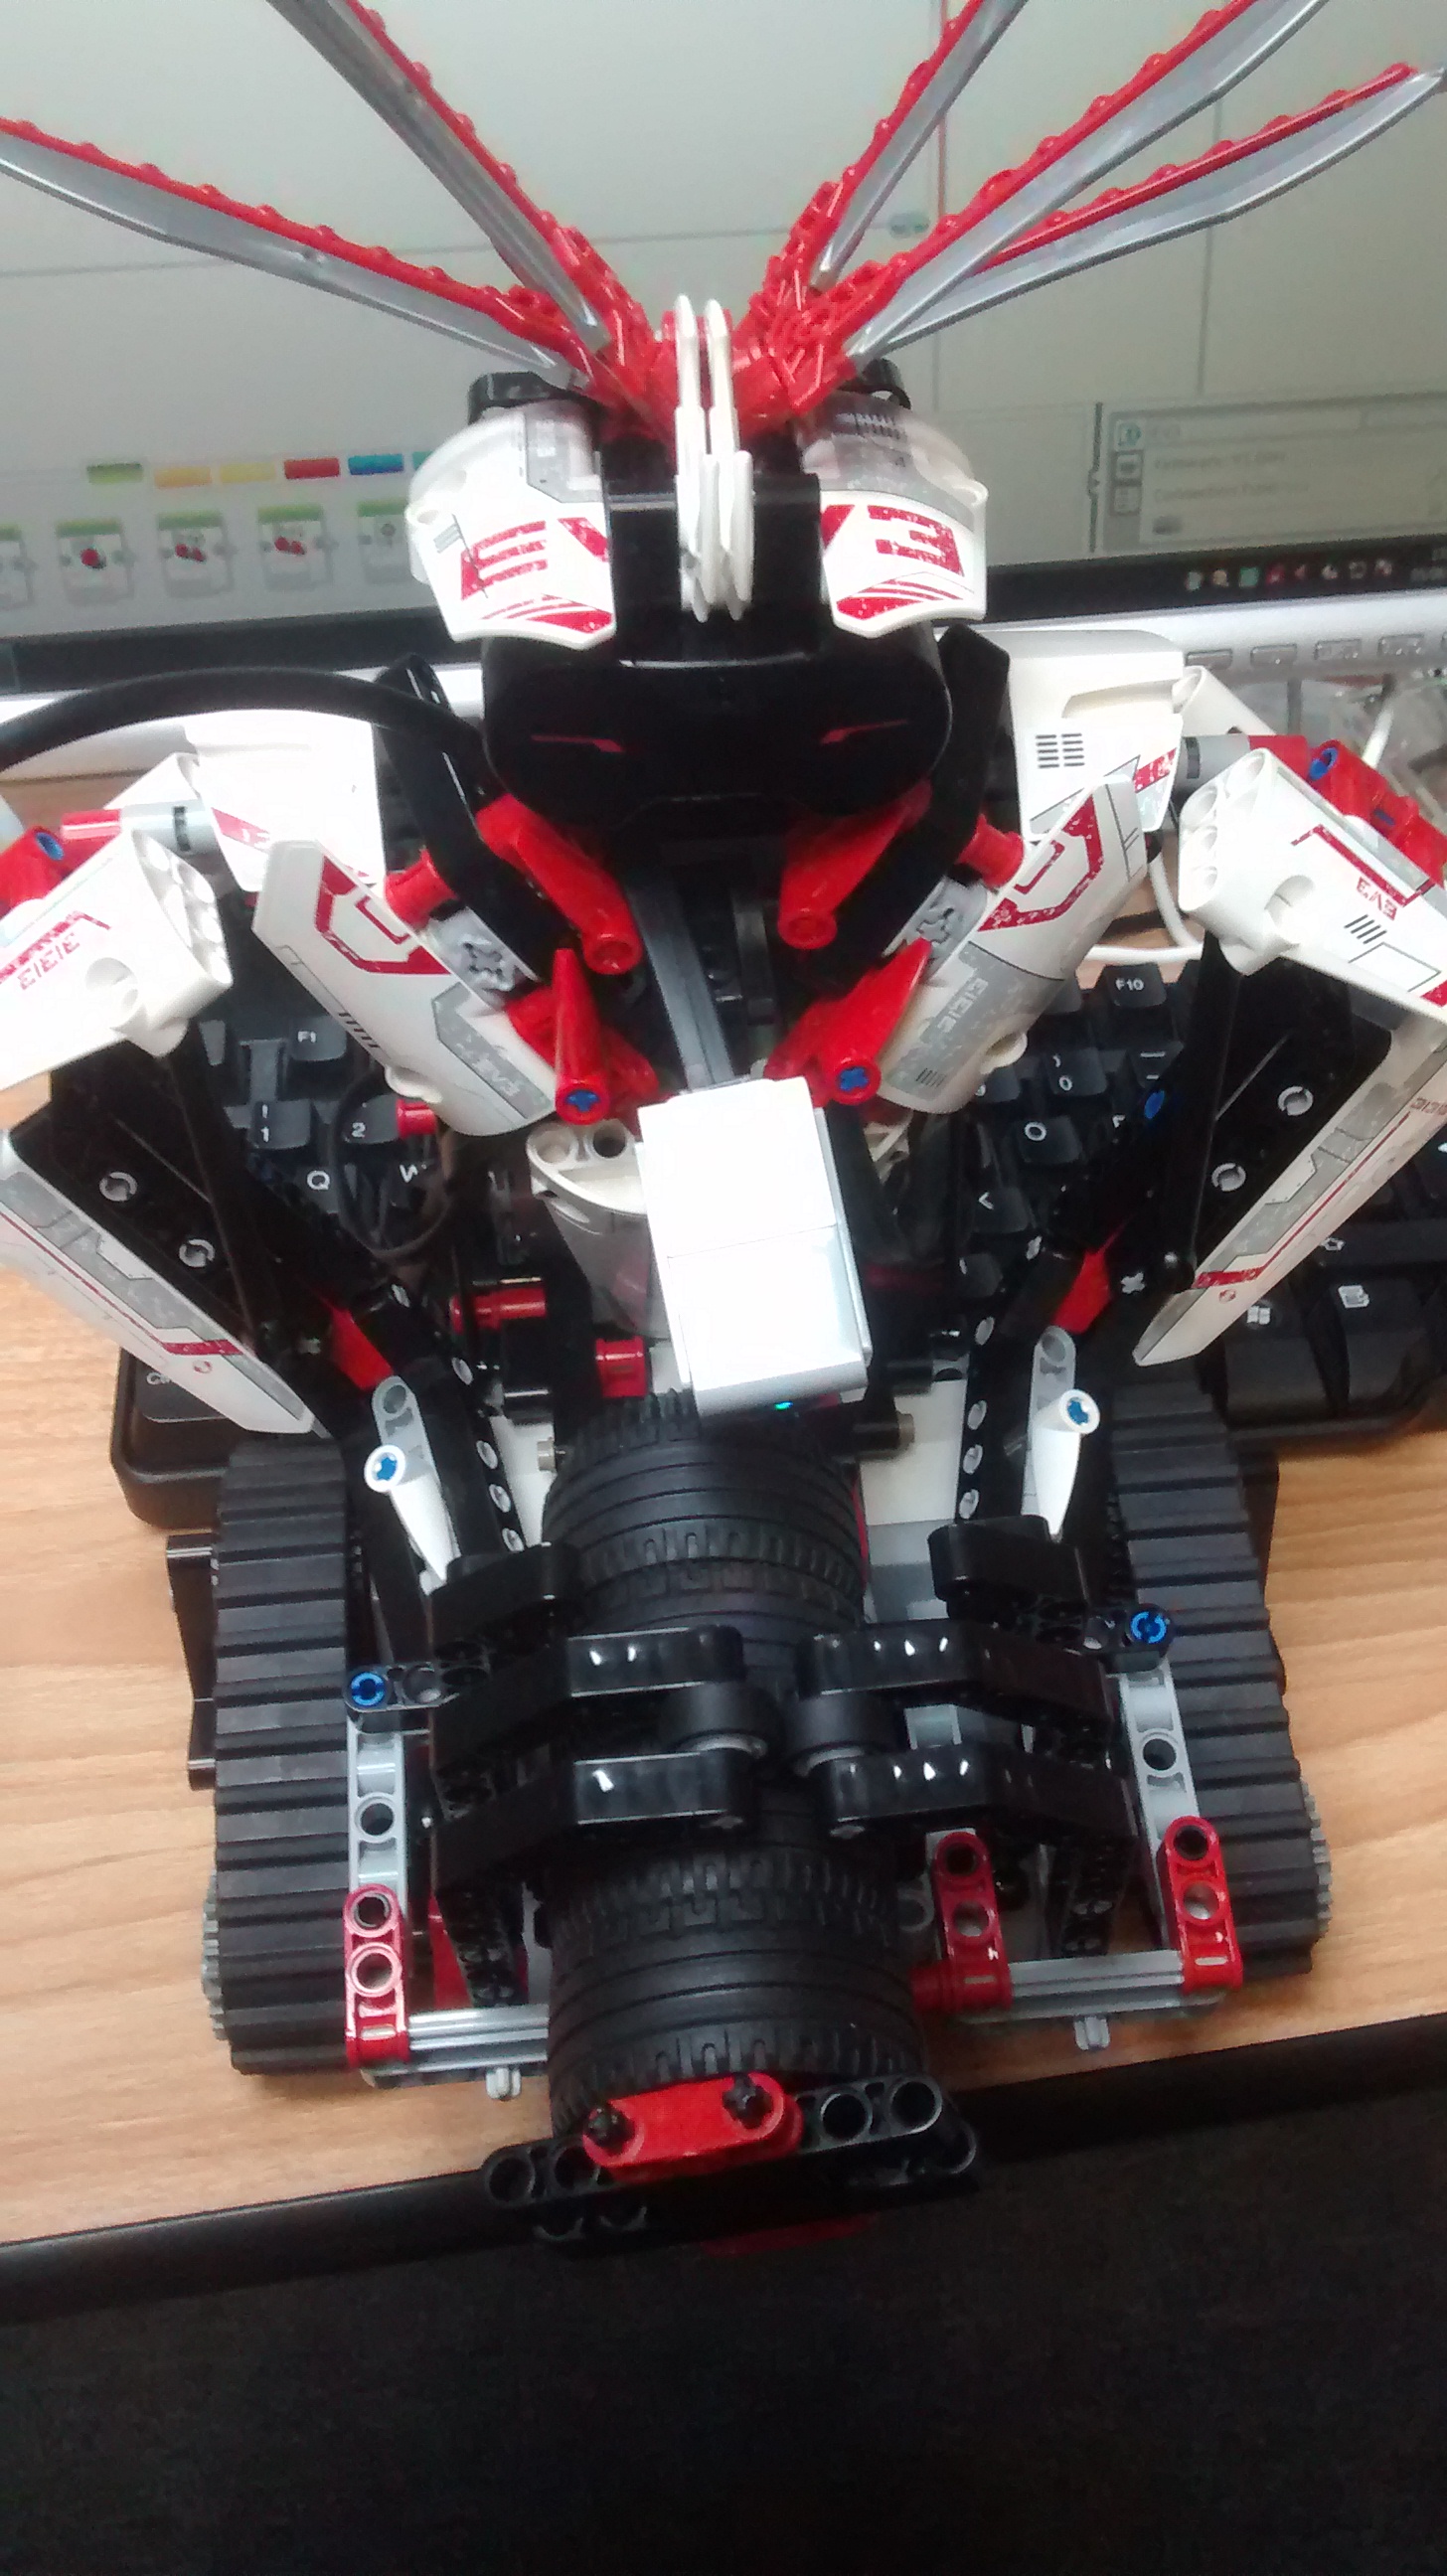
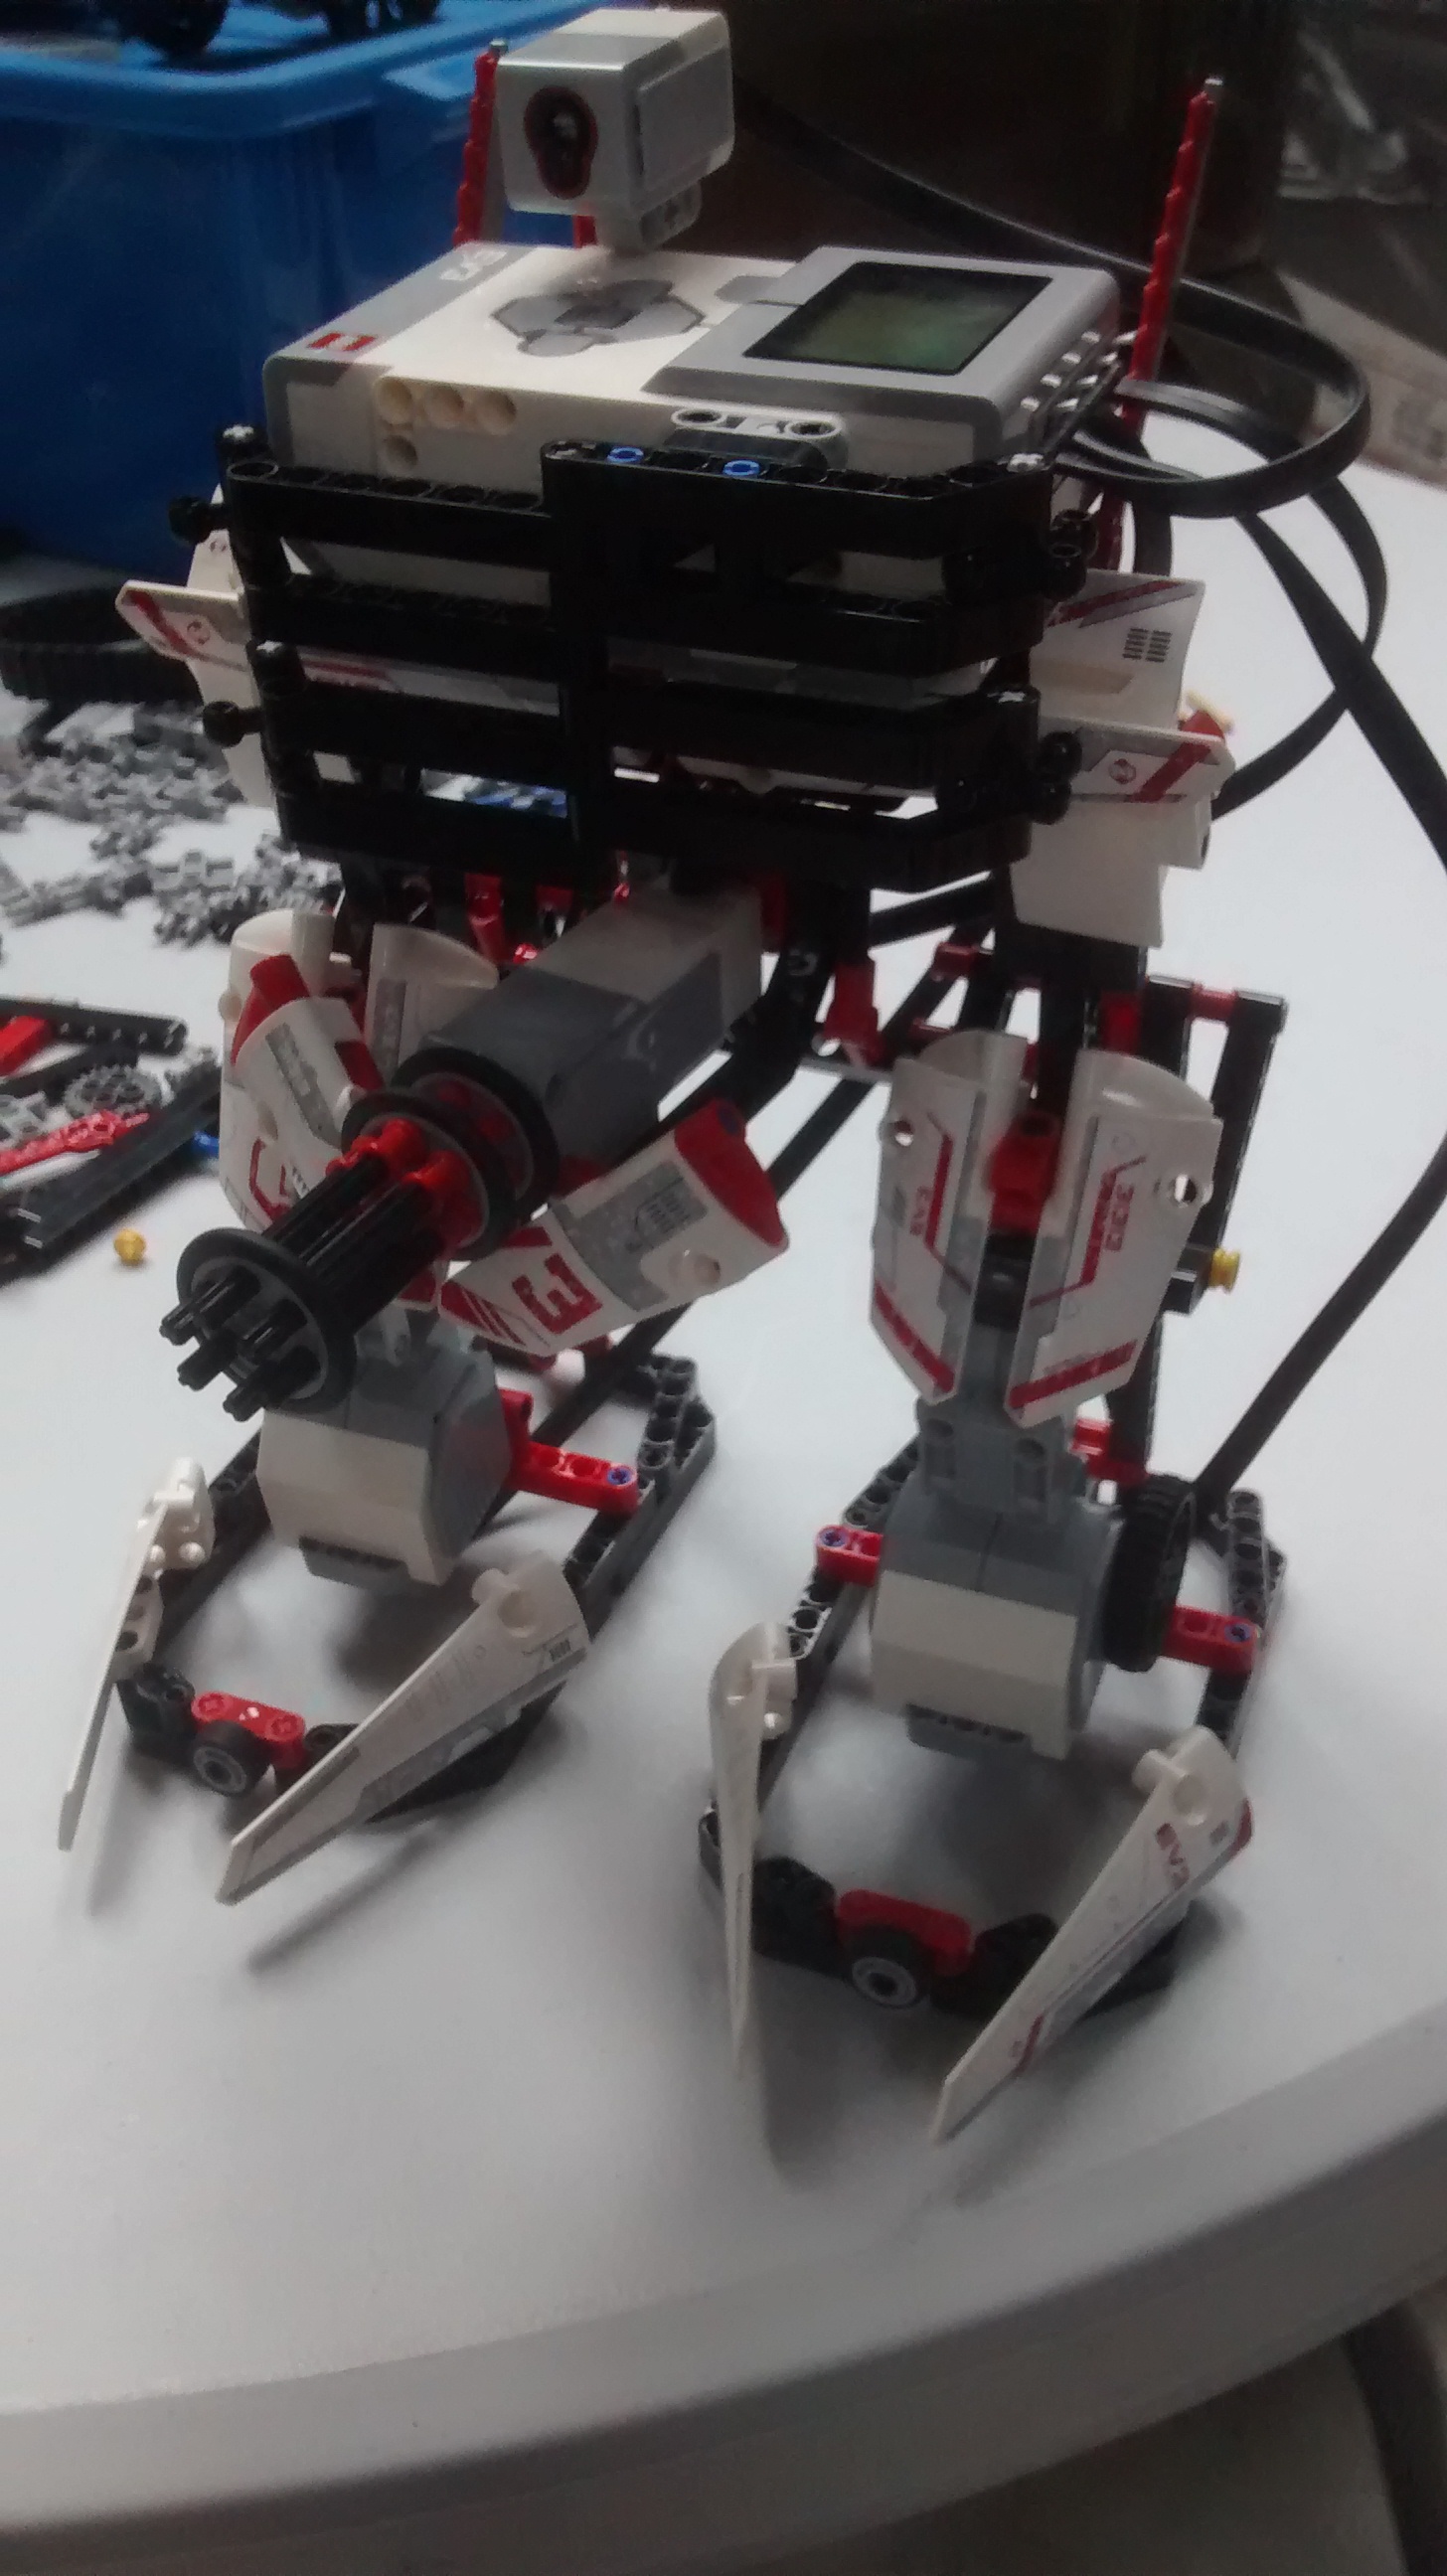
LUK3 Although there were loads of other models I could build, I decided I wanted to try building my own. I’d noticed none of the models LEGO had made were biped, the only walking one, DINOR3X, had 4 legs. I started by thinking about how I could actually get movable legs. With only two servos, one per leg, I wasn’t sure how I could get a leg and foot off the ground without making a simple kicking motion. I tried different ways to keep the foot parallel with the ground as the leg moved back and forth. Before long I had built a leg with looked like it would work, and began mirroring this to build the second. I connected them both to the main EV3 brick. I wanted to add some other things besides the legs, but wasn’t sure what. In the end I decided to make a small Gatling gun type of accessory, and added it underneath. I hooked it onto the computer and began making a walking program to test it with. I held it in the air and watched the legs paddle about, it seemed to work OK. I placed in on the desk and it began slowly moving forward. I turned up the motor speed and it began confidently walking. One minor issue it had was centre of gravity. The EV3 brick is quite heavy, and it meant my bot swayed from side to side. I increased the leg support to compensate for this, and although it happened, it wasn’t as bad. In fact, the new legs actually helped it walk, as it lifted up one leg, it leaned forward in that direction, then pushed itself forward. It wasn’t a perfect human walk, but it worked very well.
With the legs working I still had a few pieces left from the set, and began making it look a bit better and more fearsome. Not wanted to just focus on aesthetics, I added a colour sensor. I quickly programmed this to do various things without the need for a remote control. Placing anything green in front made the robot walk. Placing something yellow in front made it stop, and then placing something red it front made its gun spin rapidly and make firing sounds. I’d had a lot of fun with this kit. Making the different models and creating unique programs for each one to interact with helped me both understand the mechanical side (The DINOR3X leg mechanics helped a lot) and also the programming side. It was great to be able to combine all that knowledge and be able to create my own designs, and adapt it using parts from the other models.
Luke Lyons, The Blue School, Wells
EV3RSTORM The first one I picked was the flagship model, the "EV3RSTORM". I downloaded the instructions and began work. It gradually began taking shape, first I built the servo-powered treads and legs, then began work on the body and arm attachments. It was very simple to build it and was a lot stronger and sturdier than most models I'd built as a child. An hour or so later and it had been built. The left arm came with a choice of attachments, a spinning blade or a cannon. I downloaded the necessary programs off of the website and began experimenting with the robot. The program was quite a basic one, and allowed me to use the controller to move the robot and fire the cannon or spin the blades.
 The software for writing and programming the robot was extremely simple. In true LEGO style it had modular 'blocks' for different actions and operations. Apart from the Juke Bots I had no experience with programming, but within 10 minutes I'd create a program which activated by pushing the touch sensor on its shoulder. This made the robot spin around whilst firing and bleeping furiously. This was a great starter model to get a feel of the program and what I could do, but wanted to try out another model and do some more advanced programming.
KRAZ3 Being a big Pixar fan I couldn't pass up an opportunity to make a robotic LEGO Wall-E (Yes something that amazing does actually exist). This build looked like it could be used for a lot of advanced programming, as it had backwards servos and the colour sensor was on the ground, not placed on its shoulder like the EV3RSTORM. I took apart the robot and began using the parts to make "KRAZ3".
 The build was once again extremely sturdy and easy to do. Before long I had my very own Wall-E ready to program.
I downloaded the example software and began giving it a go. I picked apart their program looking to see how it all worked. The backwards servos were countered simply by changing the power to a minus number, and the colour sensor was easy to program and use. They had two really interesting programs I began using. Around the box, acting like a sleeve, was a course which can be laid out and used to test programs. This has a path with a red outline and different coloured spots dotted about. The first program allowed you to remotely control the bot and manoeuvre around the track. Upon going over a spot it triggers different responses. Going over blue made a fanfare, whereas going over yellow made it going into kung fu mode, waving it's arms and going "Hyah!".
The build was once again extremely sturdy and easy to do. Before long I had my very own Wall-E ready to program.
I downloaded the example software and began giving it a go. I picked apart their program looking to see how it all worked. The backwards servos were countered simply by changing the power to a minus number, and the colour sensor was easy to program and use. They had two really interesting programs I began using. Around the box, acting like a sleeve, was a course which can be laid out and used to test programs. This has a path with a red outline and different coloured spots dotted about. The first program allowed you to remotely control the bot and manoeuvre around the track. Upon going over a spot it triggers different responses. Going over blue made a fanfare, whereas going over yellow made it going into kung fu mode, waving it's arms and going "Hyah!".
 The second program was equally as interesting; it allowed the bot to follow me. Using the RC as a beacon, it began rolling behind me as I walked around the room, my own pet robot!
 After this I began trying to make my own program. The idea was that by using a random operation, I could get the bot to yell out a colour, and then I'd have to drive him over to it avoided the others. It got a bit jumbled with switches inside switches inside loops, but was still intuitive and could still be followed. I downloaded it to KRAZ3 and began. "Brown!" He yelled. By using the controller I rolled him over to the brown spot. He congratulated me with a fanfare and bleeps. I wanted to test out my entire program, so I tried it again. "Blue!" I once again rolled him around, but this time I took him to yellow, the horror! He began shouting and shaking his head and arms angrily. It all worked! Programming using the LEGO software was a lot easier than trying to program the Juke bots, not so easy I got bored, but not so hard that I wanted to flatten it into a cube! With two tracked robots made, I decided to try out something different...
DINOR3X
 One of the models that stood out to me was "DINOR3X". Unlike the other models which used wheels and tracks, this one used legs to move around. Hexapods use 18 servo motors in their legs, so I was interested to see how this worked using only 2.
 It was very impressive to see the leg mechanics in action, especially using only the parts that came with the set. With the basic program downloaded, I began reading the challenges it set, and went about working on new programs.
The first task was to add the colour sensor, which I did using the spare parts that weren't used for the dinosaur. Now I had to program it so the dinosaur roared and moved its jaw when it went over certain colours, and make other noises when it goes over the wrong ones. This time my program wasn't as clustered as the first, and I tested it out. Success! The dino began roaring triumphantly as it walked over a blue spot.
It was very impressive to see the leg mechanics in action, especially using only the parts that came with the set. With the basic program downloaded, I began reading the challenges it set, and went about working on new programs.
The first task was to add the colour sensor, which I did using the spare parts that weren't used for the dinosaur. Now I had to program it so the dinosaur roared and moved its jaw when it went over certain colours, and make other noises when it goes over the wrong ones. This time my program wasn't as clustered as the first, and I tested it out. Success! The dino began roaring triumphantly as it walked over a blue spot.
 With that challenge done the next was to get it working with the remote control. By looking at the RC code that was used to program KRAZ3, I quickly understood how it worked and began setting it up to work on DINOR3X. I finished it up and downloaded it to the robot. I pushed down both the forward buttons and it began hopping forward, the leg pieces became separated under the force of the dino. I popped them back in and tried a different approach. I pushed down the top left button, which I'd programmed to move the left legs. I then switched between pushing the left and right buttons to make it have a proper gait instead of hopping and crushing its legs. Now I knew why it didn't work, I began editing my program so pushing down the left button made the left legs move, then wait, then move the right legs. With those two assigned to the left buttons, I programmed the right ones to control the jaw and the sound. My robotic dinosaur was now fully operational!
GRIPP3R Another model which had interesting mechanics was "GRIPP3R". I took apart DINOR3X and began building the heavy handed robot.
 This was another one which was quite simple to program. I installed it into the bot and began zooming around. I'd also built the barrel that comes with it, and tested the gripping mechanism. I drove the bot in front and with the push of a button its grippers closed around the barrel and lifted it up, before driving around with its trophy.
 What I then tried to do was program it to yell out the colour of what it picks up. I began by attaching the colour sensor and positioning it so it's lined up with the barrel. I then used part of the code I used for KRAZ3 and downloaded it to the bot. He drove over the barrel, picked it up aaand... "Black!" It worked! I tried it a few more times and it kept correctly saying black. It was soon pointed out to me, however, that I'd not tested any other colours. I made a red and yellow barrel and drove over to the red one. It picked it up and exclaimed "Black!". We thought maybe it was the dark lighting, so tried it again. "Black!" I tried again. "Black!" This time I tried the yellow barrel. "Black!" it shouted, almost mockingly. I went back to my program and compared it with my working KRAZ3 one. It turns out I'd set black as the default, instead of colourless. I uploaded the tweaked program and tried again. I tested it on the black barrel. It said it's usually colour. Now was the moment of truth, I tested it on the red barrel. "Red!" It worked, for real this time! I tested the yellow barrel; "Yellow!". Pleased I'd finally got it working, I took it apart and began seeing which model I will turn it into next...
R3PTAR
 The last one I decided to build was “R3PTAR”. This one was completely different to the others, as it didn’t roll nor walk, but slithered!
This was a relatively simple one to build. I programmed it so I could use the remote control to make it slither about. I was curious as to why there was a motor in its neck, and programmed it to move. The head lunged forward and its mouth open wide to reveal its fangs! I got out the cardboard track again and added the colour sensor to the snake. I programmed it to stop and lunge forward every time it touched the red line, and then to shake successfully when it reached the end. I also added the touch sensor, so petting the snake resulted in a very angry hiss and a show of fangs; he wasn’t a very social snake.
The last one I decided to build was “R3PTAR”. This one was completely different to the others, as it didn’t roll nor walk, but slithered!
This was a relatively simple one to build. I programmed it so I could use the remote control to make it slither about. I was curious as to why there was a motor in its neck, and programmed it to move. The head lunged forward and its mouth open wide to reveal its fangs! I got out the cardboard track again and added the colour sensor to the snake. I programmed it to stop and lunge forward every time it touched the red line, and then to shake successfully when it reached the end. I also added the touch sensor, so petting the snake resulted in a very angry hiss and a show of fangs; he wasn’t a very social snake.
LUK3 Although there were loads of other models I could build, I decided I wanted to try building my own. I’d noticed none of the models LEGO had made were biped, the only walking one, DINOR3X, had 4 legs. I started by thinking about how I could actually get movable legs. With only two servos, one per leg, I wasn’t sure how I could get a leg and foot off the ground without making a simple kicking motion. I tried different ways to keep the foot parallel with the ground as the leg moved back and forth. Before long I had built a leg with looked like it would work, and began mirroring this to build the second. I connected them both to the main EV3 brick. I wanted to add some other things besides the legs, but wasn’t sure what. In the end I decided to make a small Gatling gun type of accessory, and added it underneath. I hooked it onto the computer and began making a walking program to test it with. I held it in the air and watched the legs paddle about, it seemed to work OK. I placed in on the desk and it began slowly moving forward. I turned up the motor speed and it began confidently walking. One minor issue it had was centre of gravity. The EV3 brick is quite heavy, and it meant my bot swayed from side to side. I increased the leg support to compensate for this, and although it happened, it wasn’t as bad. In fact, the new legs actually helped it walk, as it lifted up one leg, it leaned forward in that direction, then pushed itself forward. It wasn’t a perfect human walk, but it worked very well.
 With the legs working I still had a few pieces left from the set, and began making it look a bit better and more fearsome. Not wanted to just focus on aesthetics, I added a colour sensor. I quickly programmed this to do various things without the need for a remote control. Placing anything green in front made the robot walk. Placing something yellow in front made it stop, and then placing something red it front made its gun spin rapidly and make firing sounds. I’d had a lot of fun with this kit. Making the different models and creating unique programs for each one to interact with helped me both understand the mechanical side (The DINOR3X leg mechanics helped a lot) and also the programming side. It was great to be able to combine all that knowledge and be able to create my own designs, and adapt it using parts from the other models.
Luke Lyons, The Blue School, Wells
With the legs working I still had a few pieces left from the set, and began making it look a bit better and more fearsome. Not wanted to just focus on aesthetics, I added a colour sensor. I quickly programmed this to do various things without the need for a remote control. Placing anything green in front made the robot walk. Placing something yellow in front made it stop, and then placing something red it front made its gun spin rapidly and make firing sounds. I’d had a lot of fun with this kit. Making the different models and creating unique programs for each one to interact with helped me both understand the mechanical side (The DINOR3X leg mechanics helped a lot) and also the programming side. It was great to be able to combine all that knowledge and be able to create my own designs, and adapt it using parts from the other models.
Luke Lyons, The Blue School, Wells